Connect Bitbucket.org repositories to Swimm
When you create a new workspace, it will consist of a single repository - Swimm's (demo) todo repo.
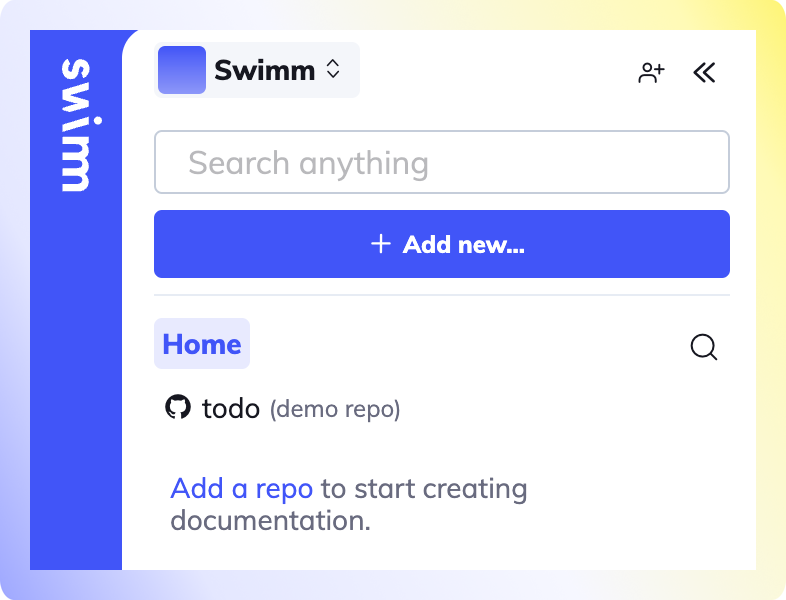
Getting started
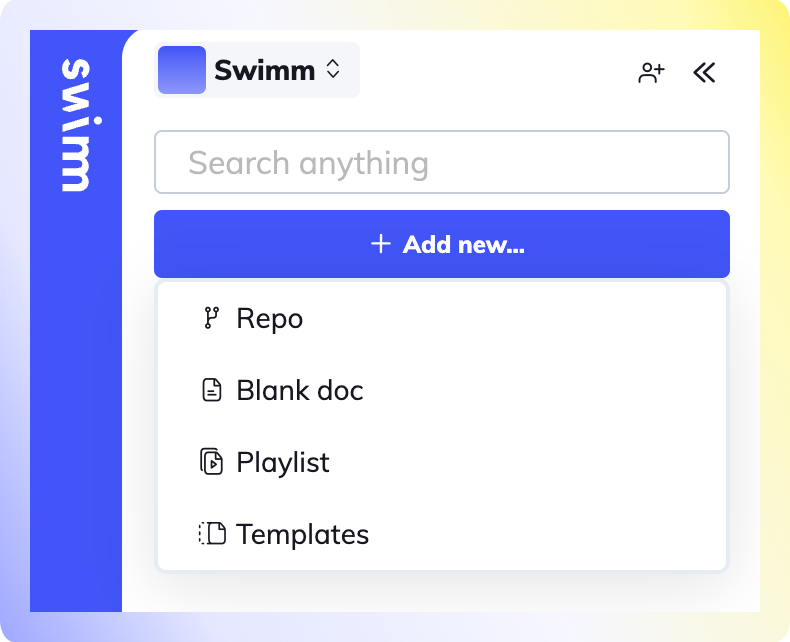
Add a repository
Click the + Add new... button in the sidebar. Select Repo.
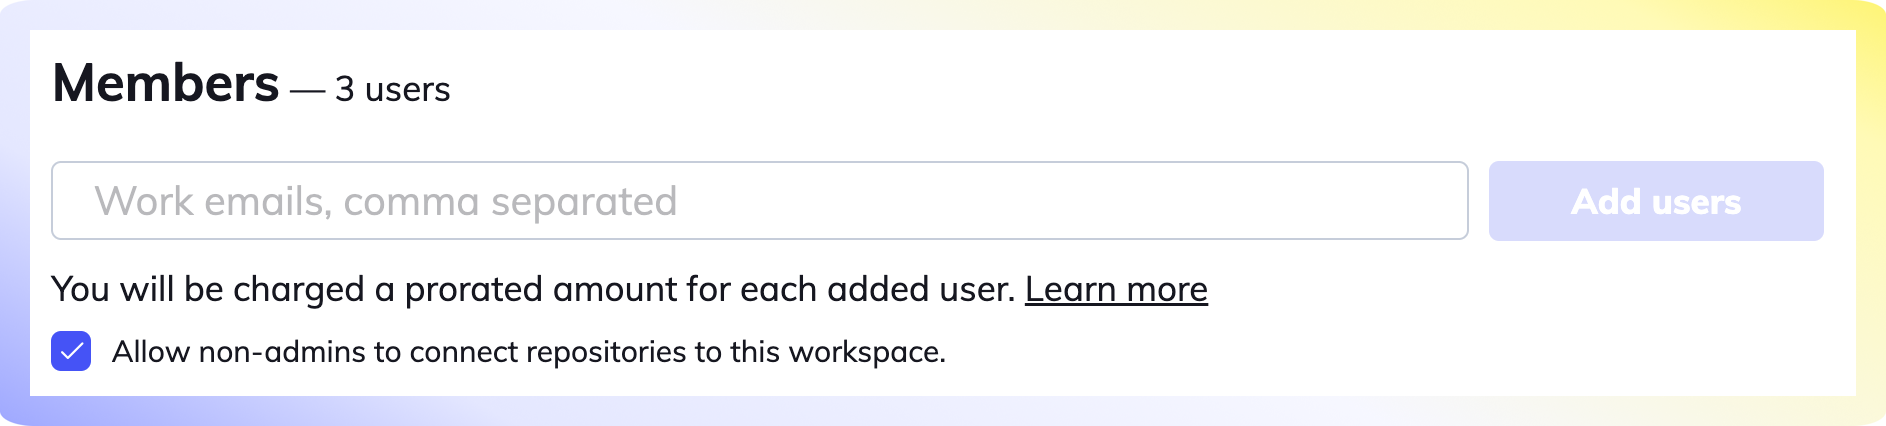
Permissions
By default, Swimm admins can connect repositories to the workspace. Non-admins can be granted permissions to add repositories to the workspace in Workspace settings -> Members.
Connect your repository.
Click on Allow Bitbucket Access to OAuth into your Bitbucket account.
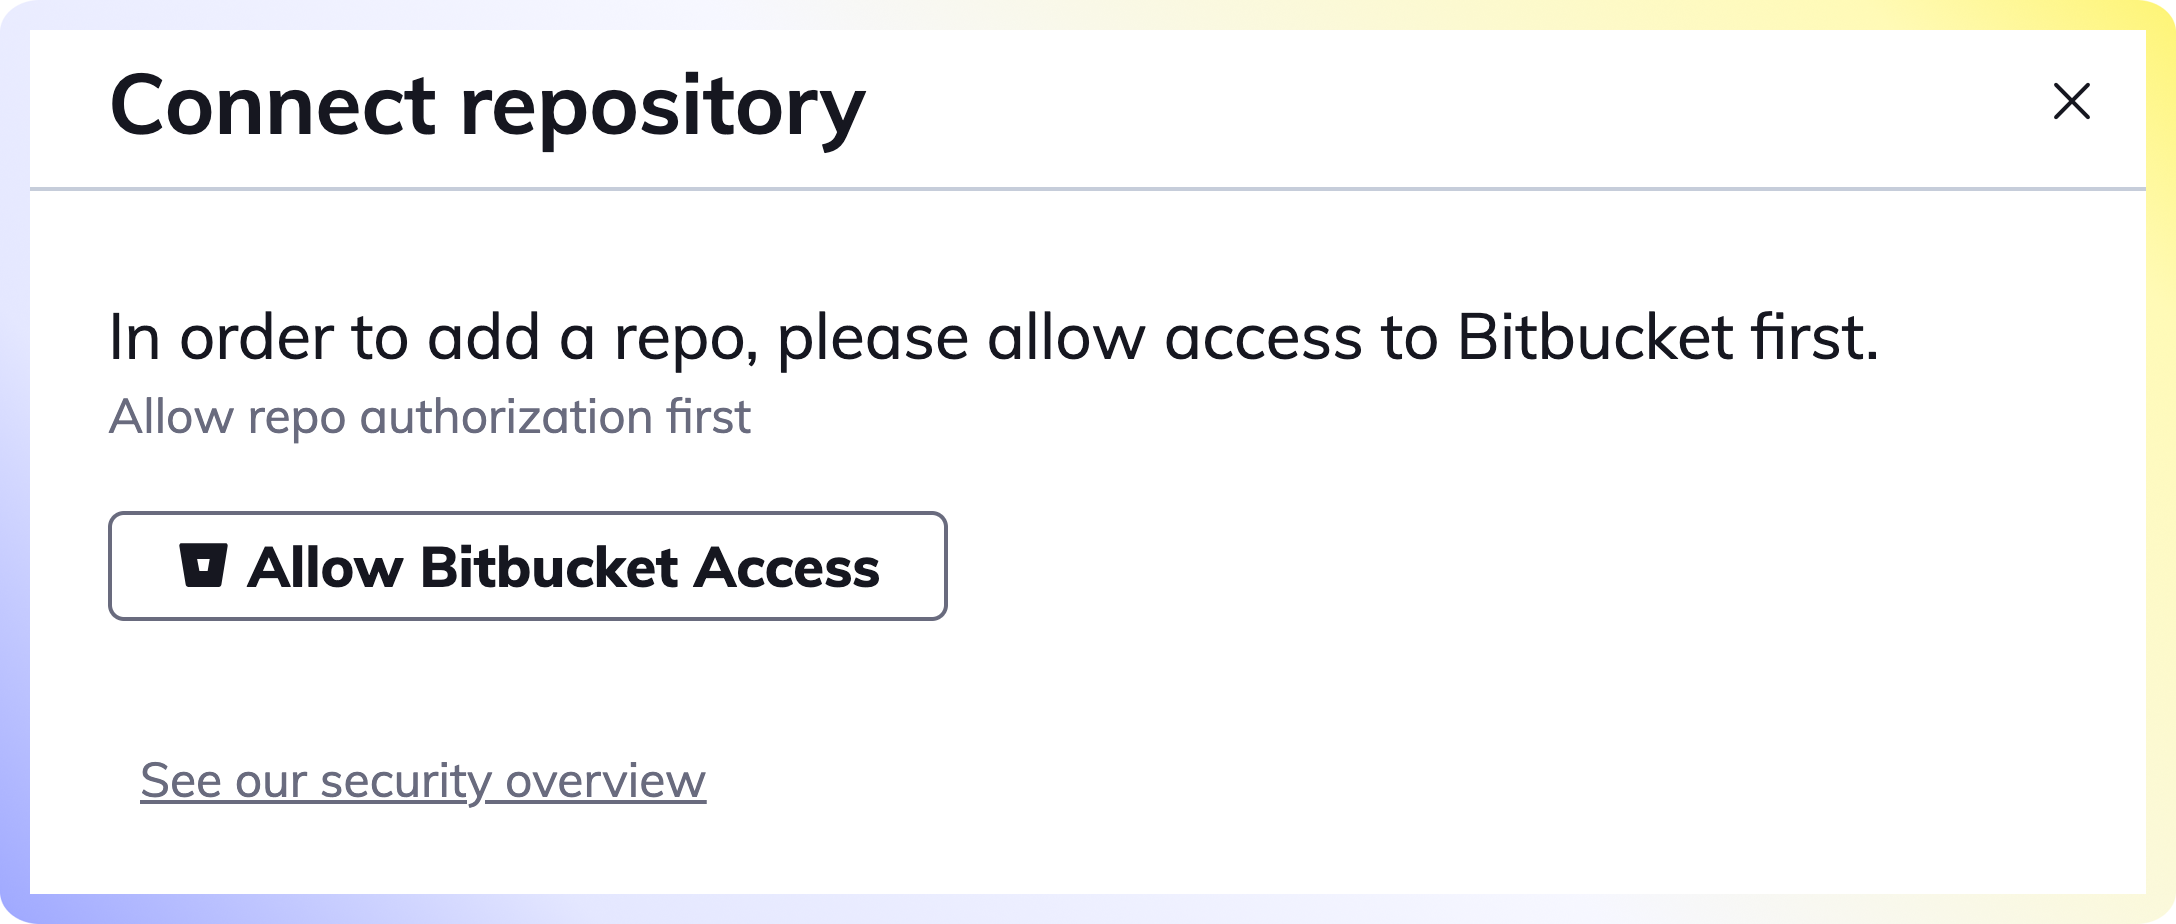
We never store your code or your docs on our server. Read more about our security and privacy overview.
Sign into Bitbucket
Select or search for the repositories
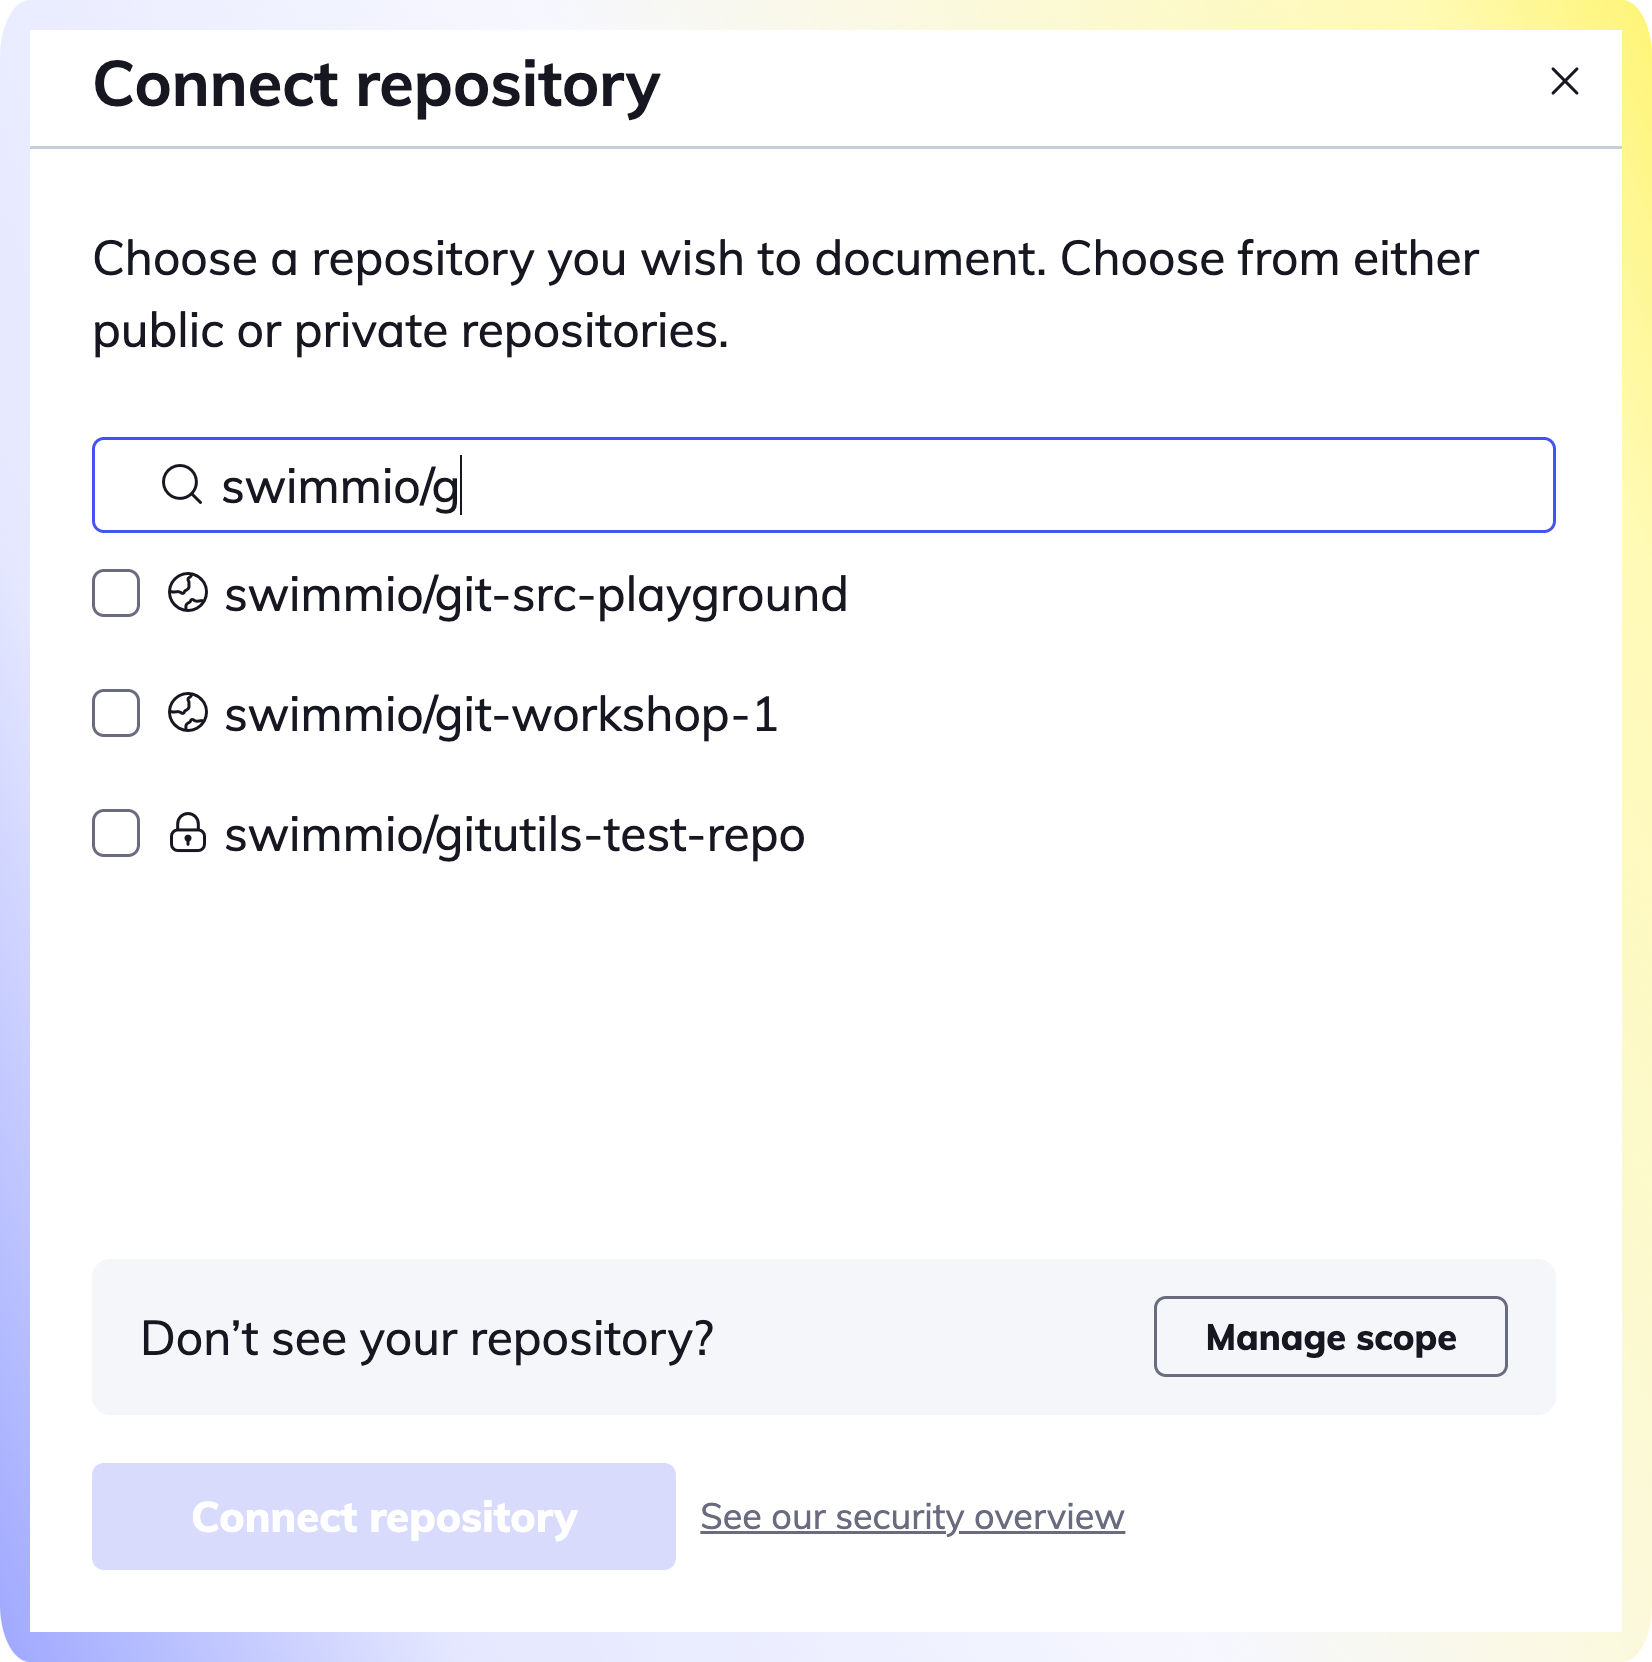
Select and connect your repository (or multiple repositories) to your Swimm workspace.
Voila! Now that you have successfully added your repositories, go create your first Swimm document.
How to bulk add repositories
Refer to our Add Repo API to add repositories in bulk.
Troubleshooting
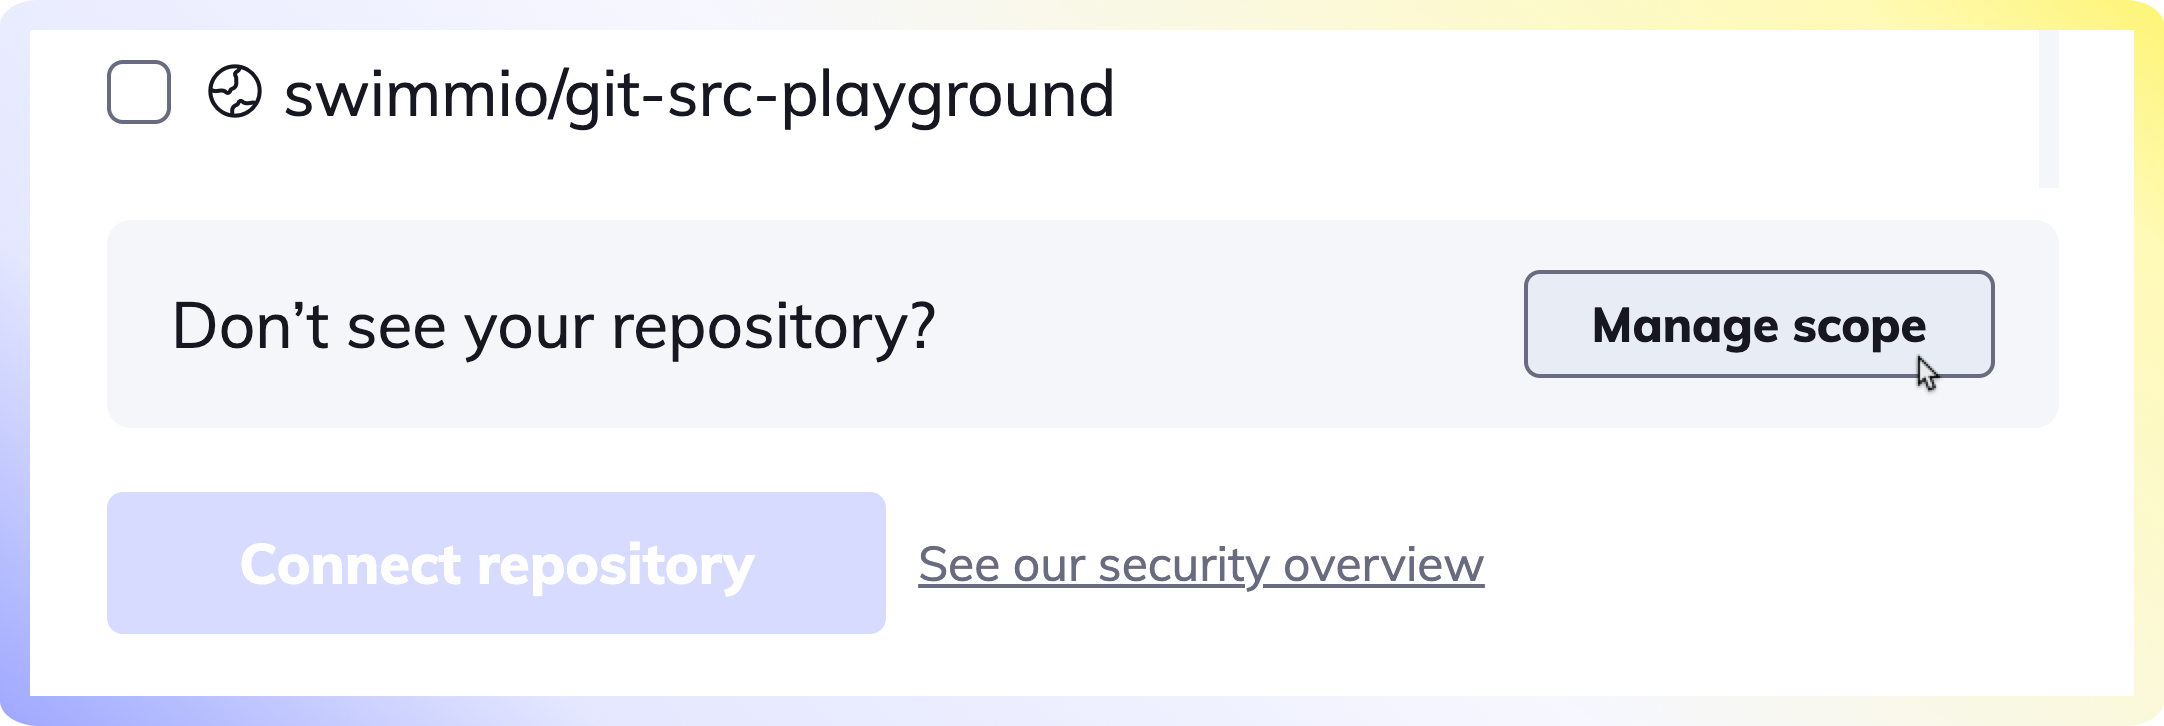
If you don't see the repository you wish to add, Swimm doesn't have the correct permissions required and you’ll need to click the Manage Scope button at the bottom right of the dialog box.
If you still cannot locate your repo, please reach out to us on our Community Slack Channel.
How to change the order of repositories
You can change the order of repositories displayed on the left-side navigation. Hover over any repository and drag the repository using the arrow icon.
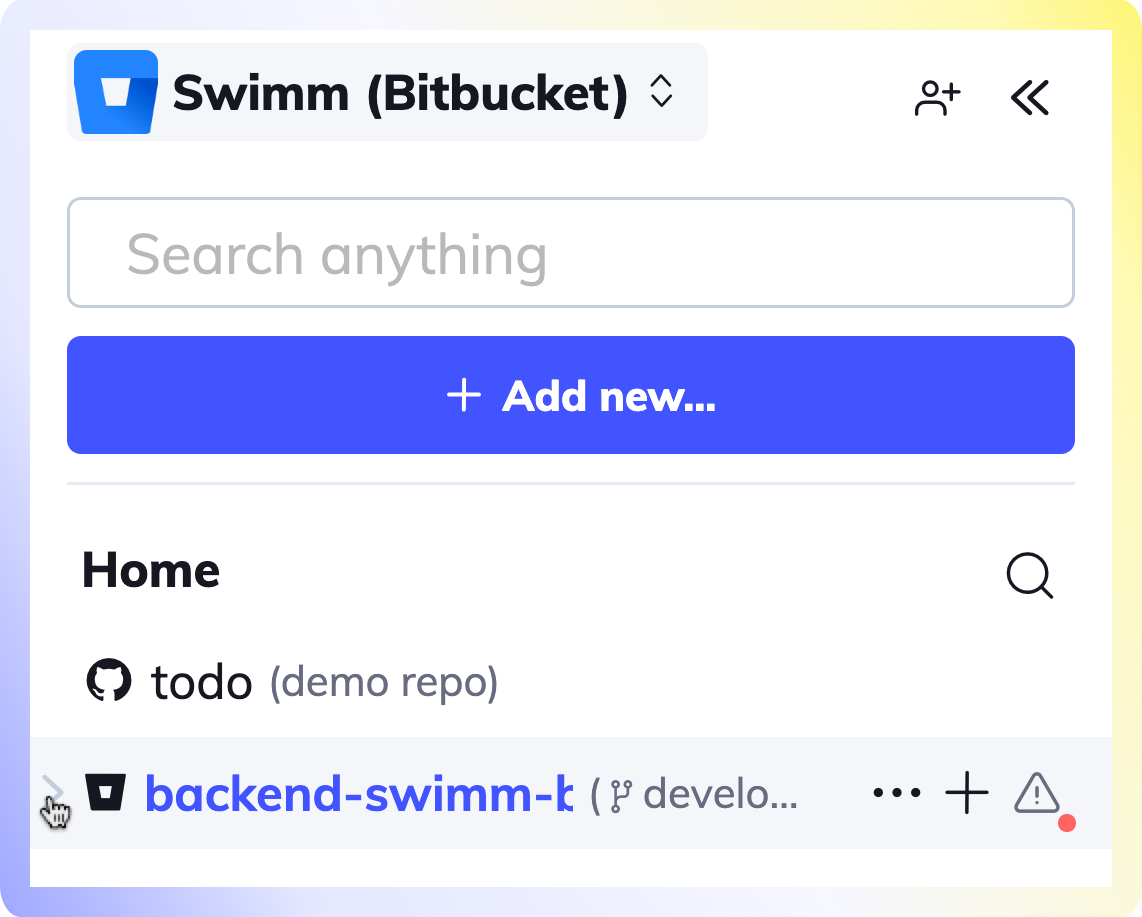
Changing the order of your repositories only affects your Swimm account and not other Swimmers.