Import data into Swimm
We imagine that you likely have lots of docs spread across multiple apps and files. Rather than creating new docs from scratch, you can import all your existing documentation into Swimm. This will ensure that your docs will be easy to find and stay up to date.
How to import data
Step 1
Click Create button in the top right corner of your repo page on Swimm.
Step 2
Navigate to the Import tab and choose one of the different options in the hub:
- Upload .md files
- Repo import
- Notion import
- Confluence import
Step 3
Follow the import wizard’s instructions to begin importing your data.
Instructions for each import option
Upload .md files
Follow these instructions to import Markdown files from your computer:
- Navigate to the Swimm workspace where you'd like to import your markdown files.
- Next, go to your Swimm repo page and click the
Createbutton in the upper right-hand corner. - Go to the
Import sectionand select theUpload .md filesoption. - Click
Uploadand select the.mdfiles you wish to import. Note that you can select multiple files.

- Follow the import wizard instructions.
Repo import
Follow these instructions to import Markdown files from your repository:
- Navigate to the Swimm workspace where you'd like to import your markdown files.
- Next, go to your Swimm repo page and click the
Createbutton in the upper right hand corner. - Go to the
Import sectionand select theImportoption.
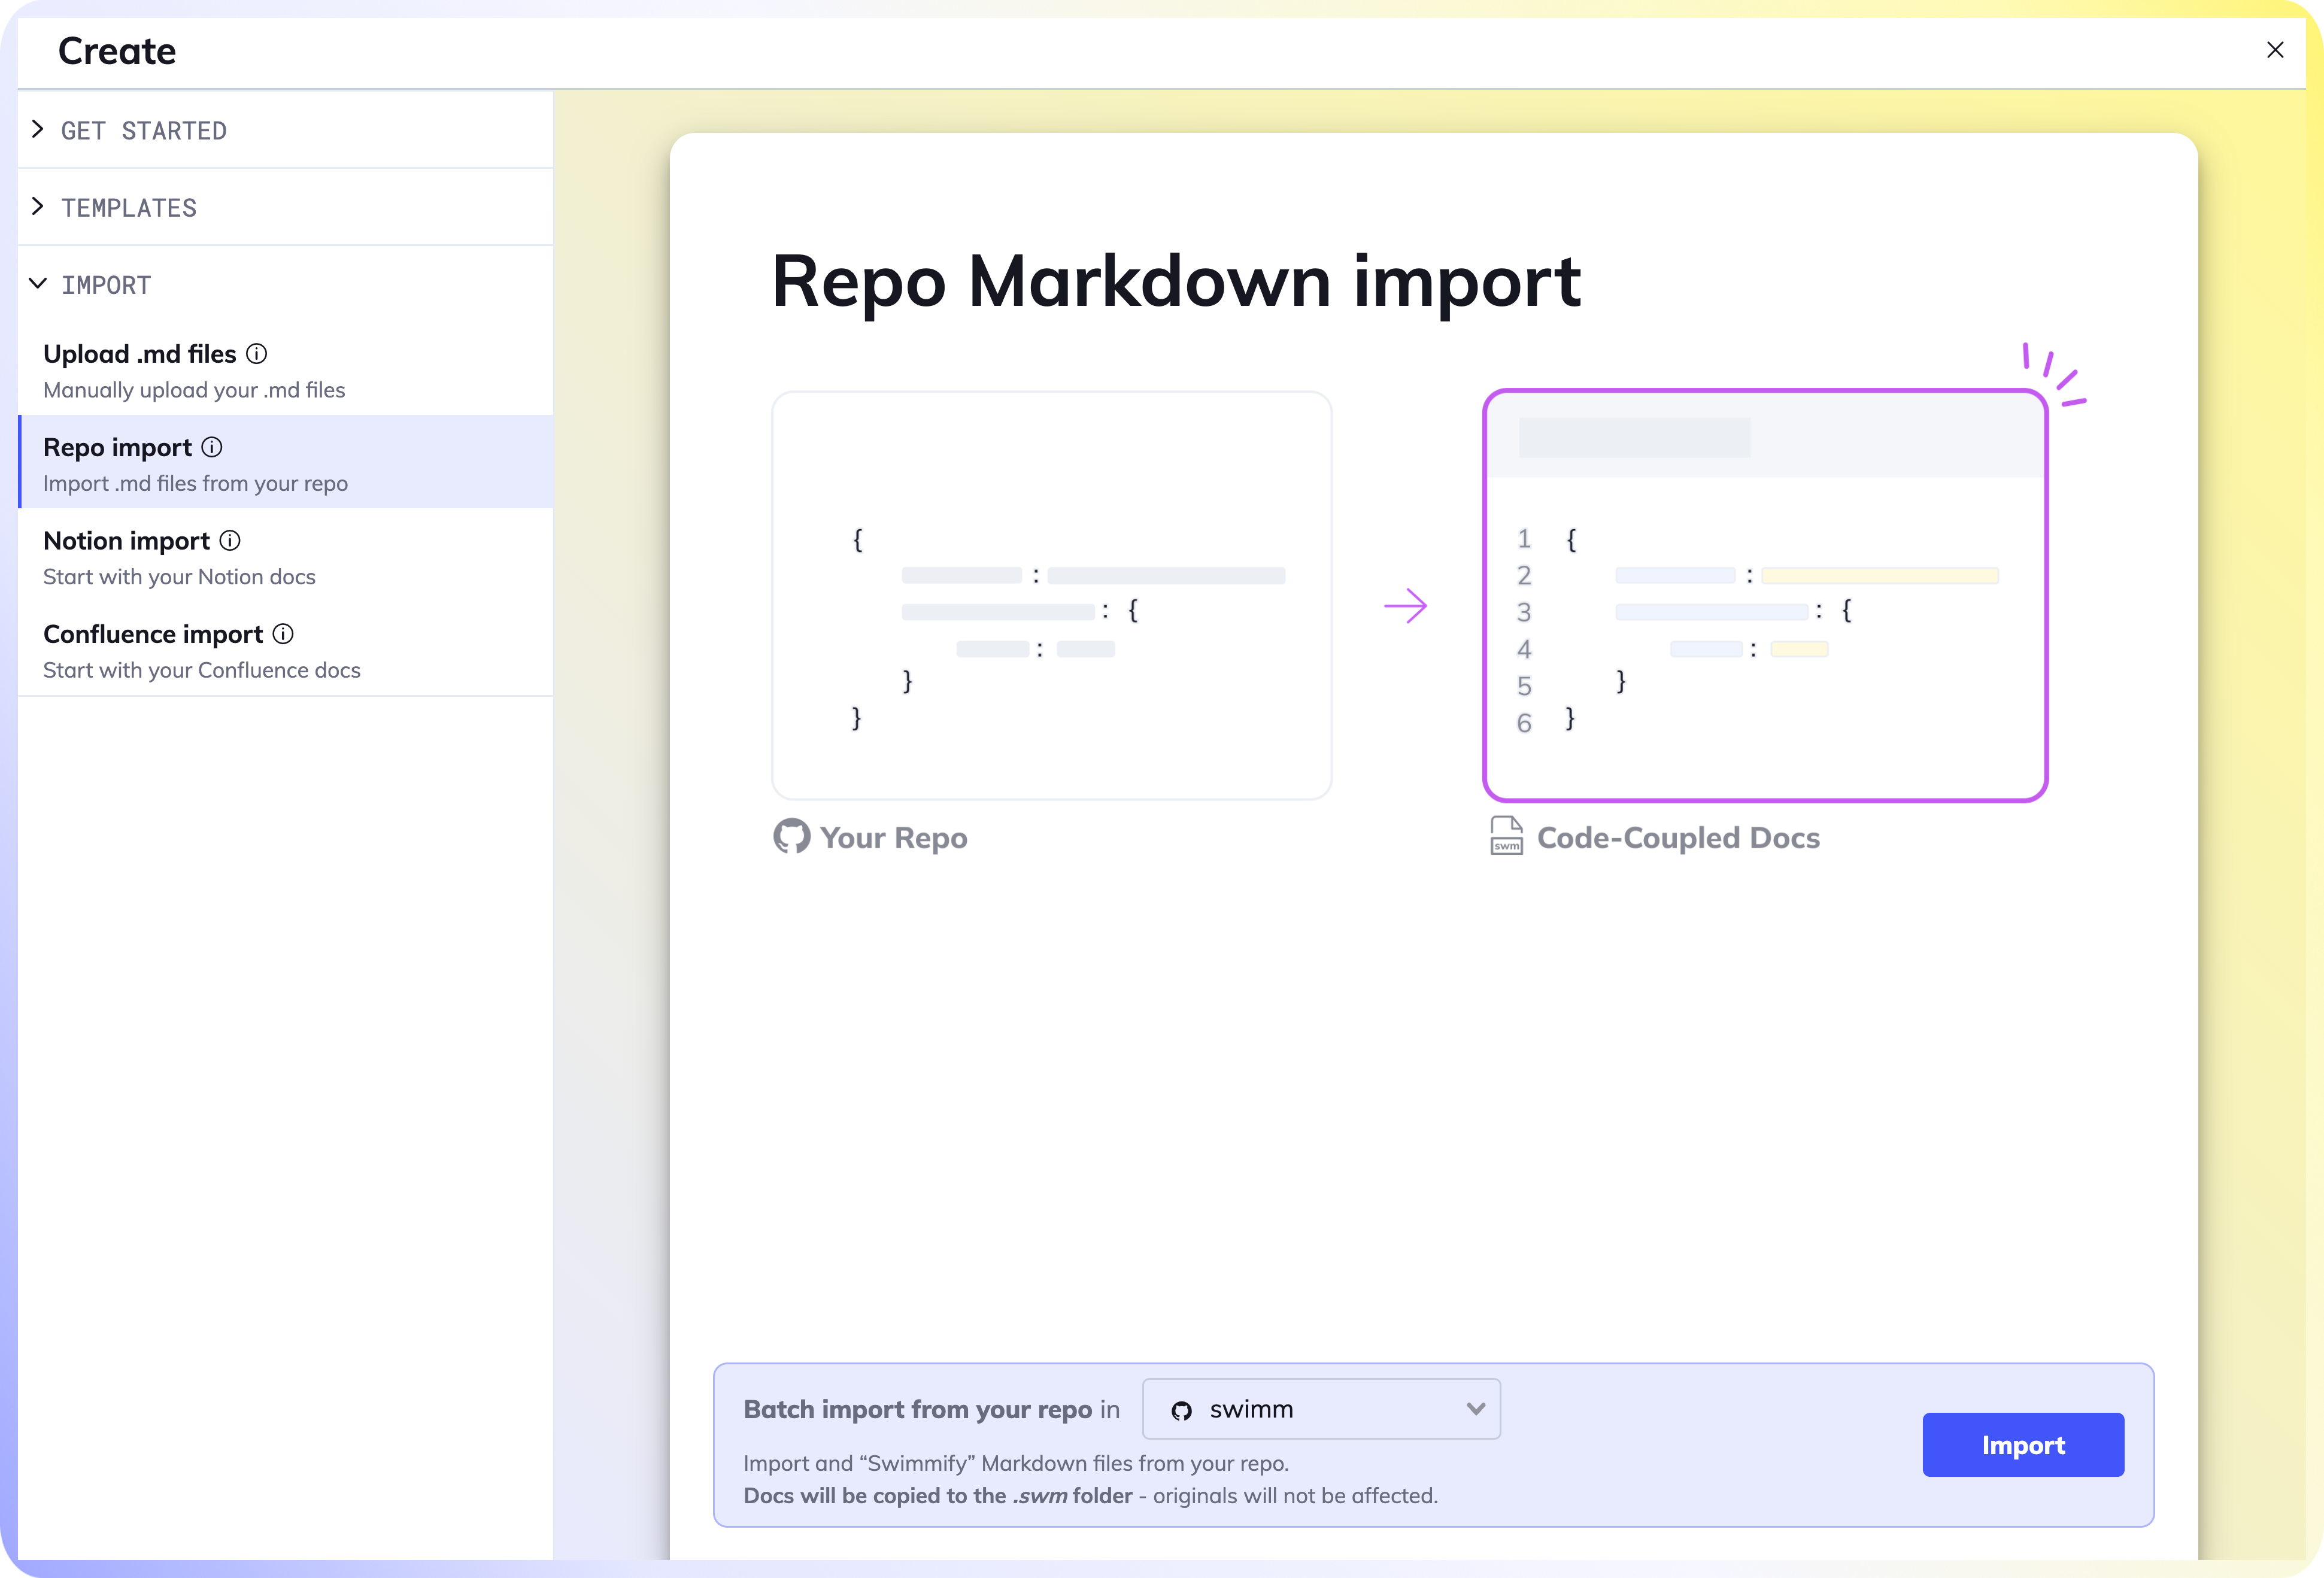
- Select the
.mdfiles you wish to import from your repo. - Follow the import wizard instructions.
Confluence import
You must be an admin of the space in Confluence in order to export content from Confluence.
If you are not an admin, you can copy and paste the contents of the docs you would like to import.
Follow the instructions below to import Confluence data:
First, export your Confluence space to HTML.
- Log into Confluence and choose the space you want to export.
- Select
Space Settingson the left sidebar. - In the Manage Space section, choose
Export Space. - Select
HTMLfrom the list of formats. - Select
Custom Exportand un-check theInclude Commentsbox. - Select which pages you want to export. Keep in mind that large attachments will complicate the export process and size.
- Wait for your export to finish. This may take a while.
- After the export is done, click
Download hereto save it to your computer. - You will see a file titled something like
Confluence-space-export-XXXXXX.html.zip, whereXXXXXXis a sequence of digits
Next, import your Confluence space to Swimm.
- Navigate to the Swimm workspace where you'd like to import your Confluence content.
- Next, go to your Swimm repo page and click the
Createbutton in the upper right hand corner. - Go to the
Import sectionand select theConfluence importoption. - Click
Import.

- In the file picker, navigate to the
.zipfile exported from Confluence in the previous step, and select it for upload. Unzipping the file is not required. - Follow the import wizard instructions to complete the import process.
Notion Import
Follow the instructions below to import Notion data:
1. Export your Notion space to Markdown files.
- Log into Notion and choose the workspace you want to export.
- Go to
Settings & Membersat the top of your left-hand sidebar. - Select
Settingsin the sidebar of that window. - Scroll down and click the
Export allworkspace content button. - In the
Export format, selectMarkdown & CSV - Un-check the
Create Folders and Sub-foldersbox. - Click
Export. - Your download will begin automatically, and you'll also receive an email from Notion with a link to download your files.
2. Import your Notion space to Swimm.
- Navigate to the Swimm workspace where you'd like to import your Notion content.
- Next, go to your Swimm repo page and click the
Createbutton in the upper right hand corner. - Go to the
Import sectionand select theNotion Importoption. - Click
Import.
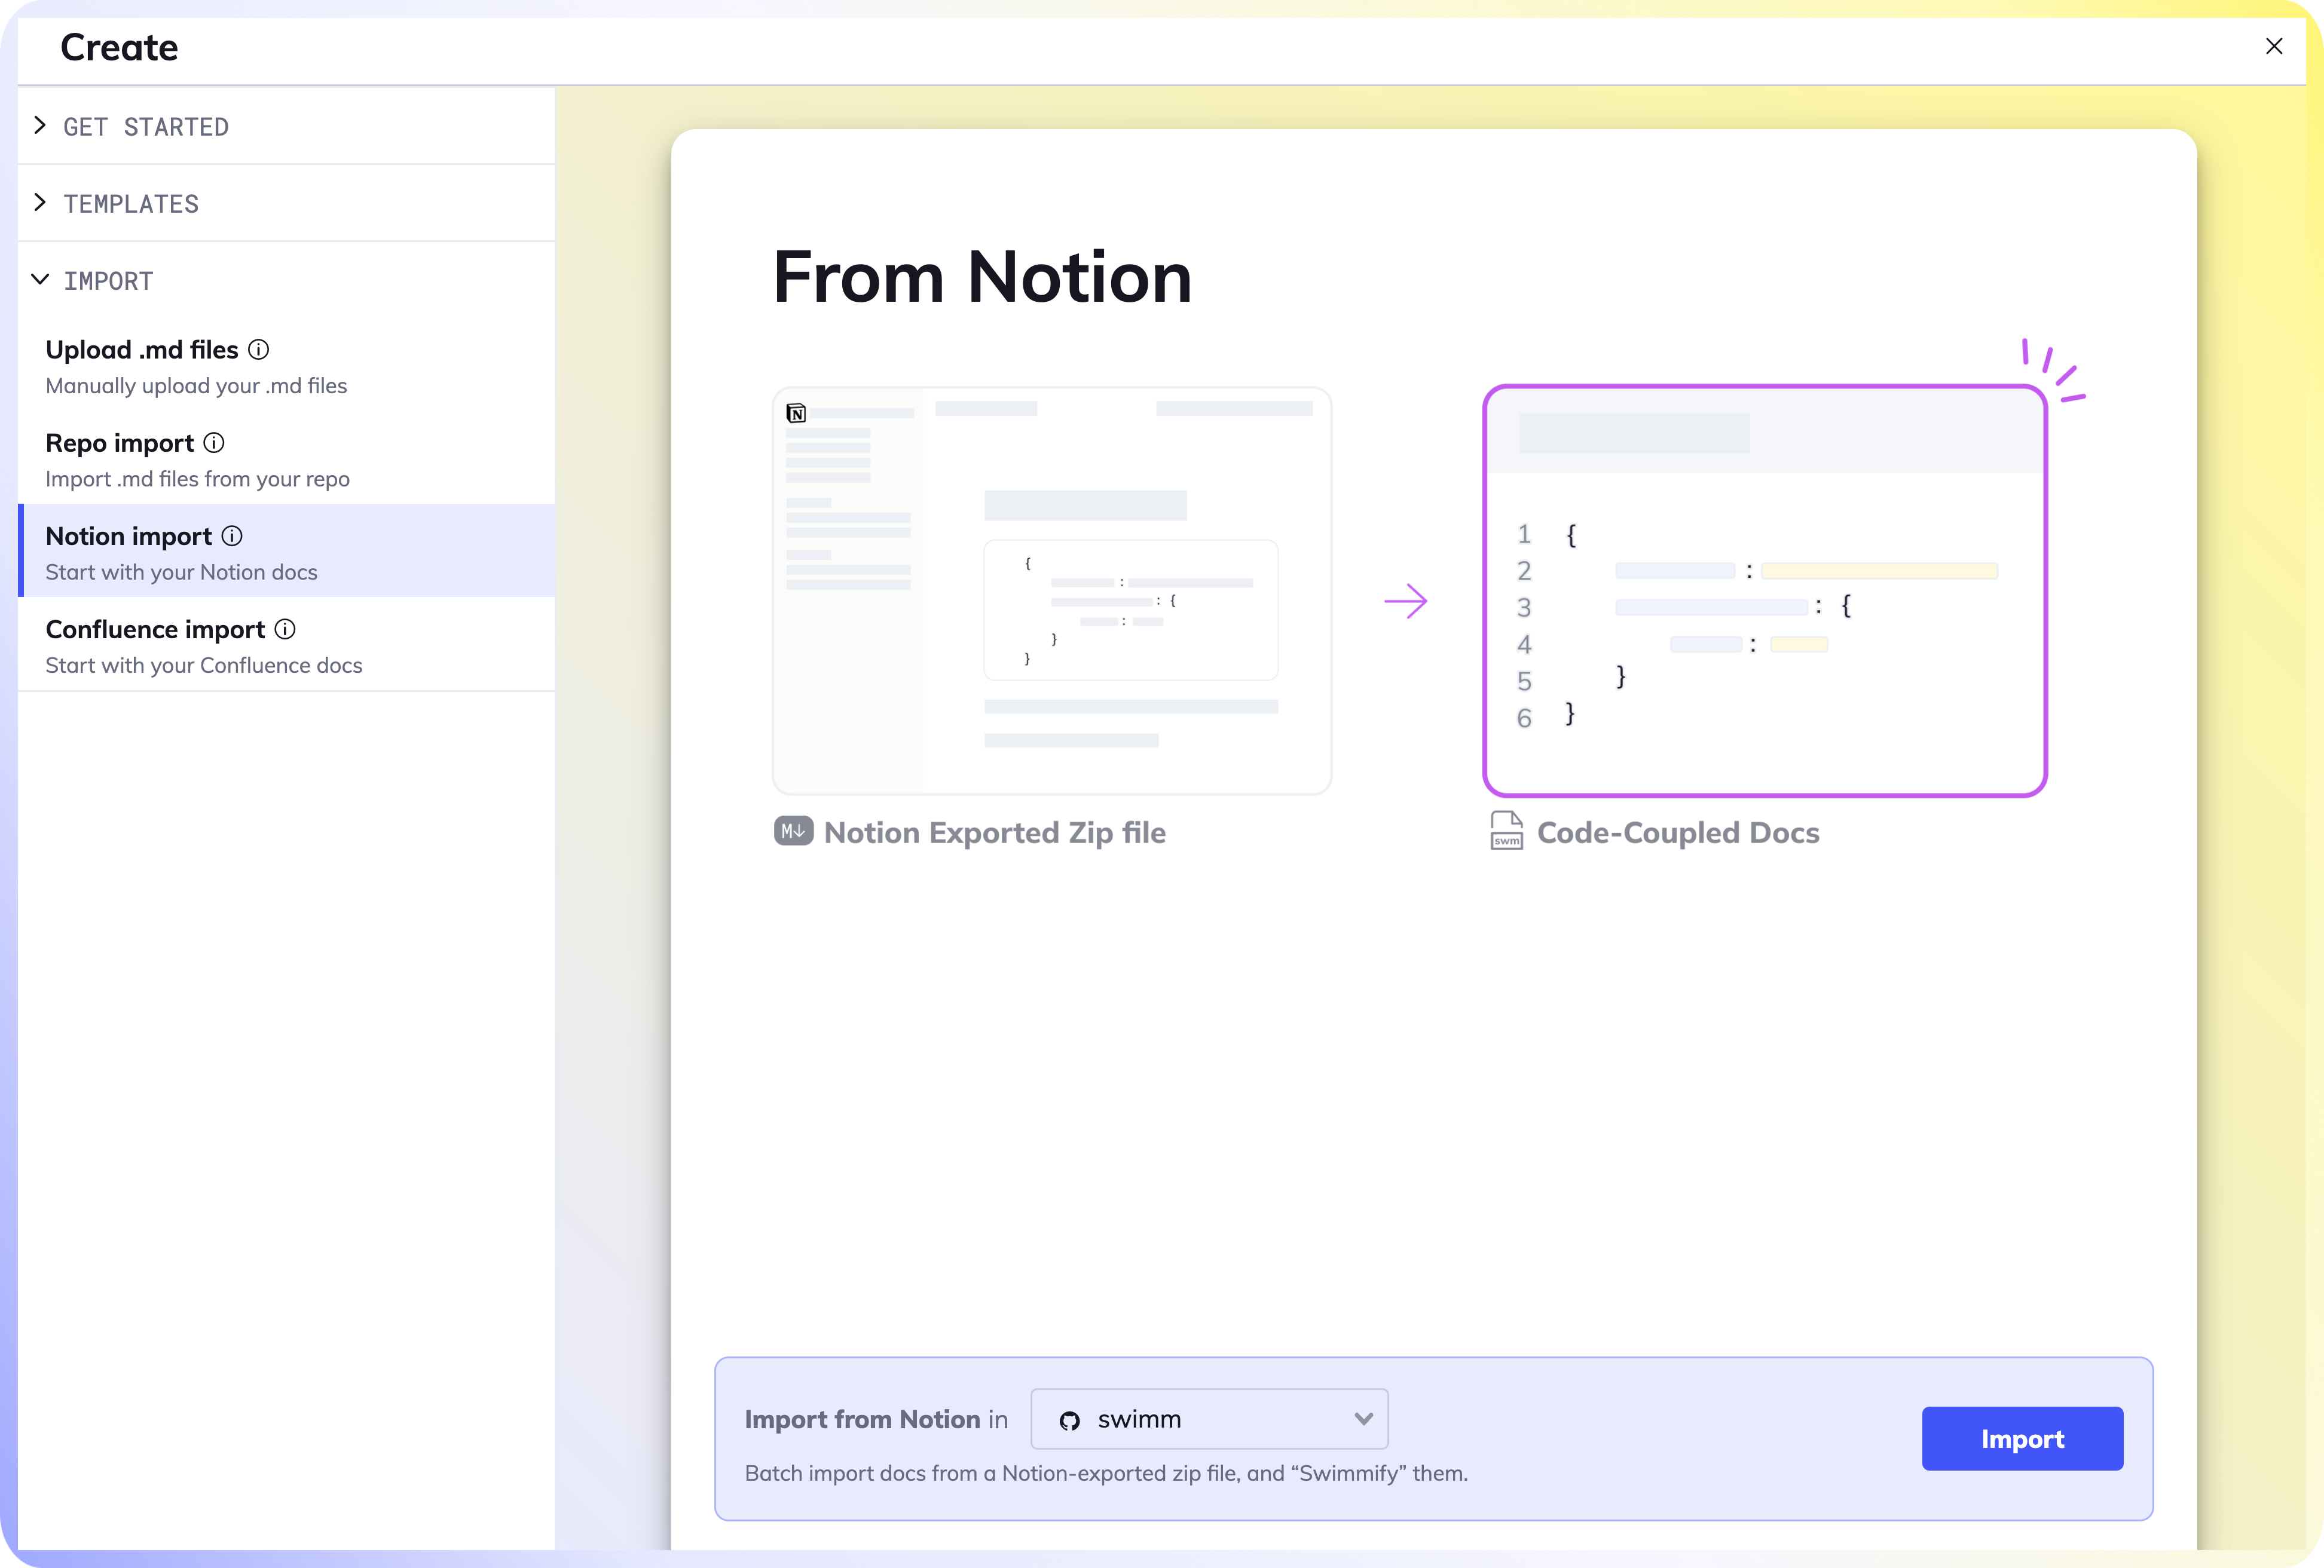
- In the file picker, navigate to the
.zip fileexported from Notion in the previous step, and select it for upload. Unzipping the file is not required. - Follow the import wizard instructions to complete the import process.
This document is automatically kept up to date using Swimm.