How to create a JumpCloud application for Swimm
To authorize SSO with JumpCloud for your organization, we will need you to create an SSO application on your JumpCloud instance. Follow the steps:
Create JumpCloud App
- Add New Application
- Custom Integration
- Manage Features
- Configure Application
- Add Permissions
- Info for Swimm
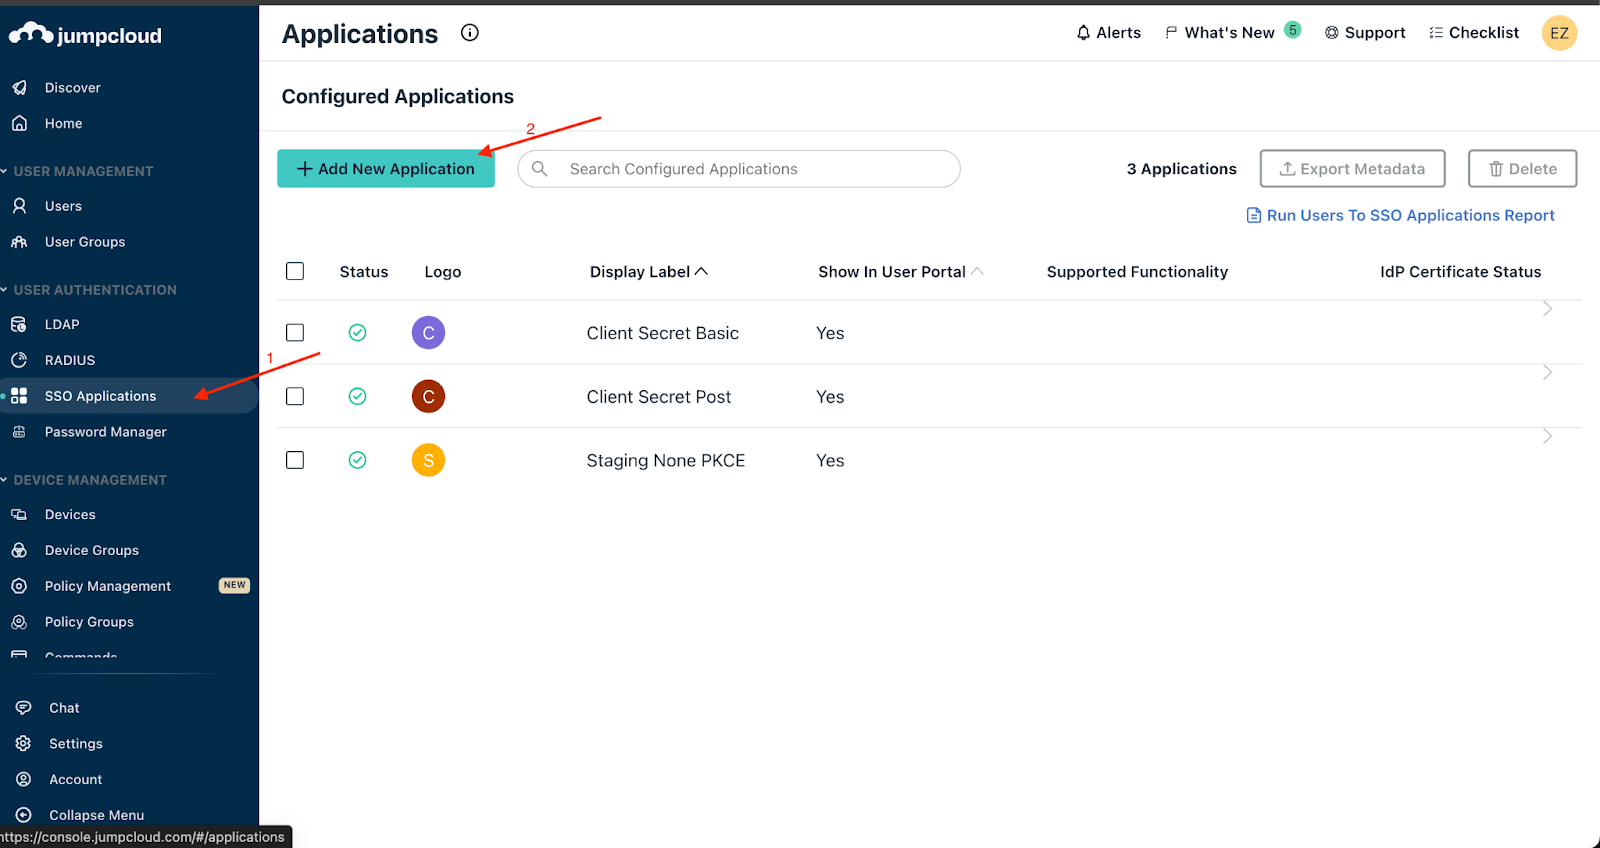
Navigate to SSO Applications within the JumpCloud menu and click Add New Application.
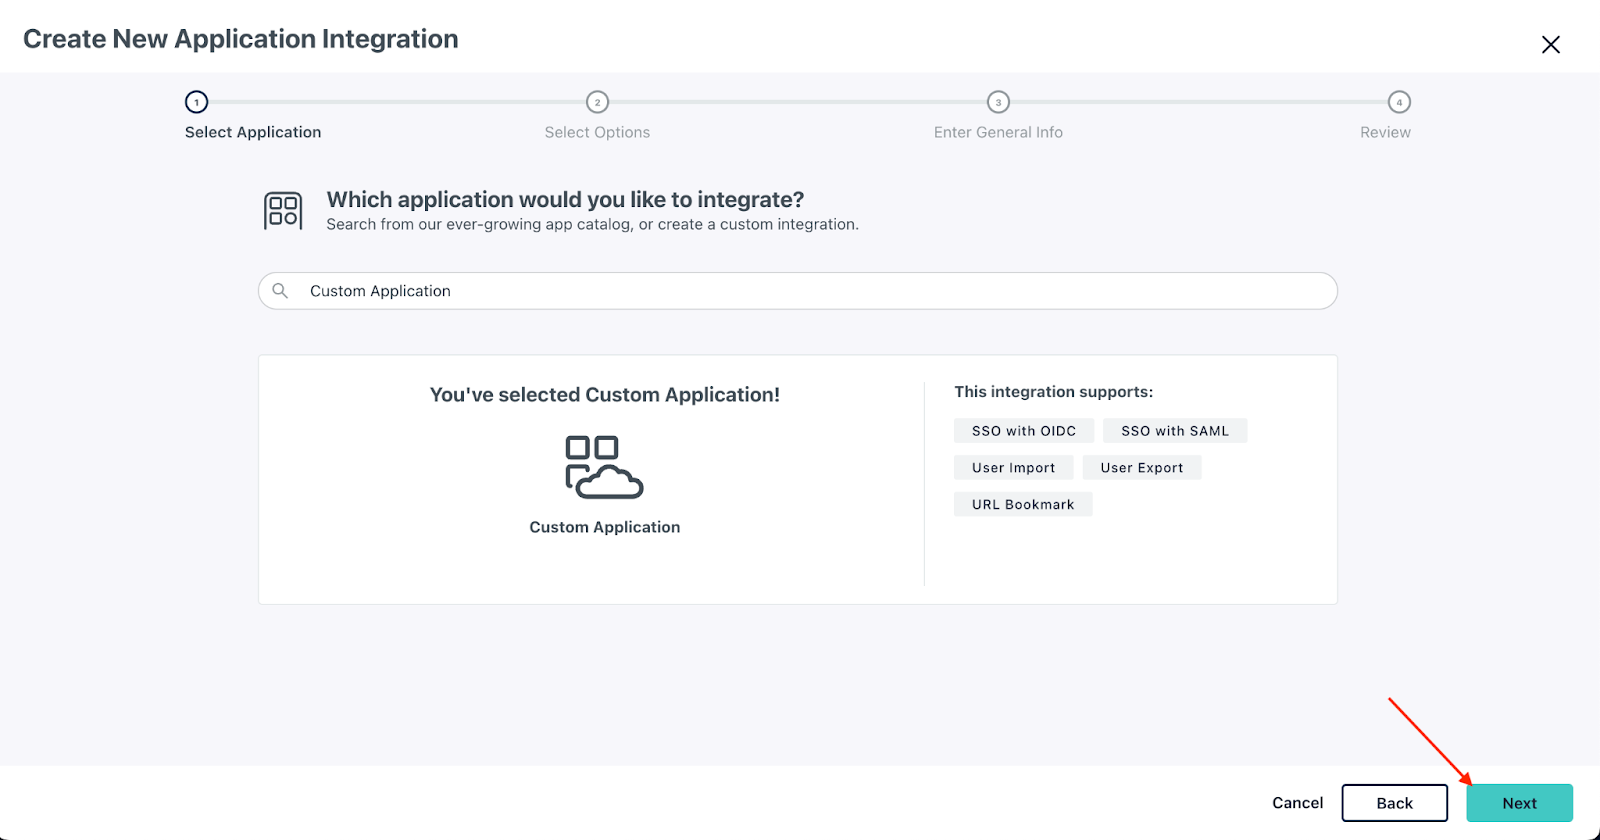
Create a Custom Integration. If you can’t see the button, search for Swimm.
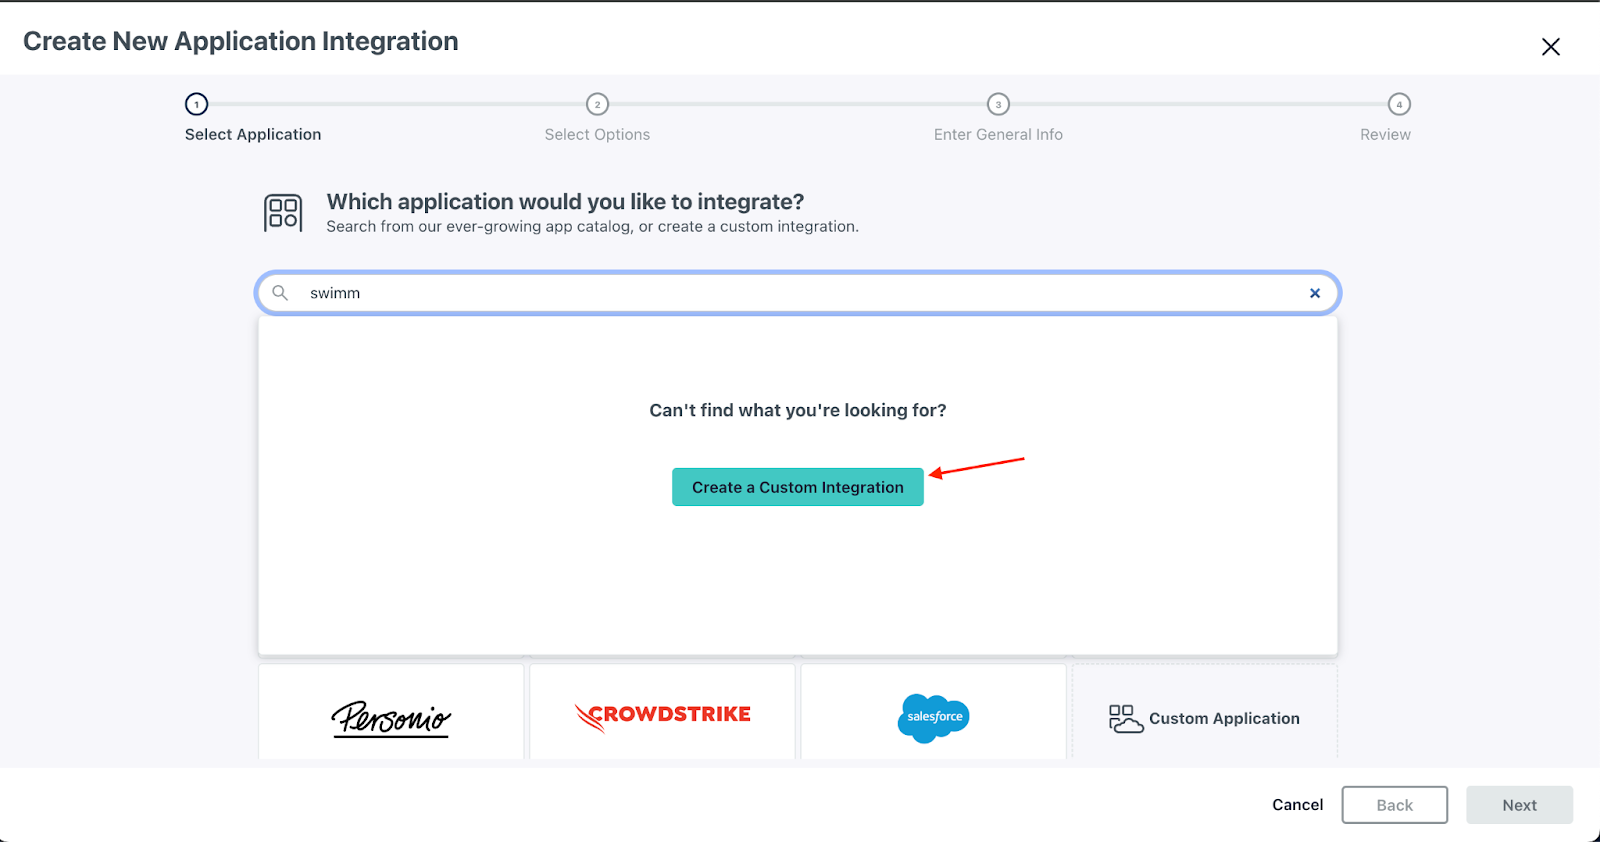
Click Next.
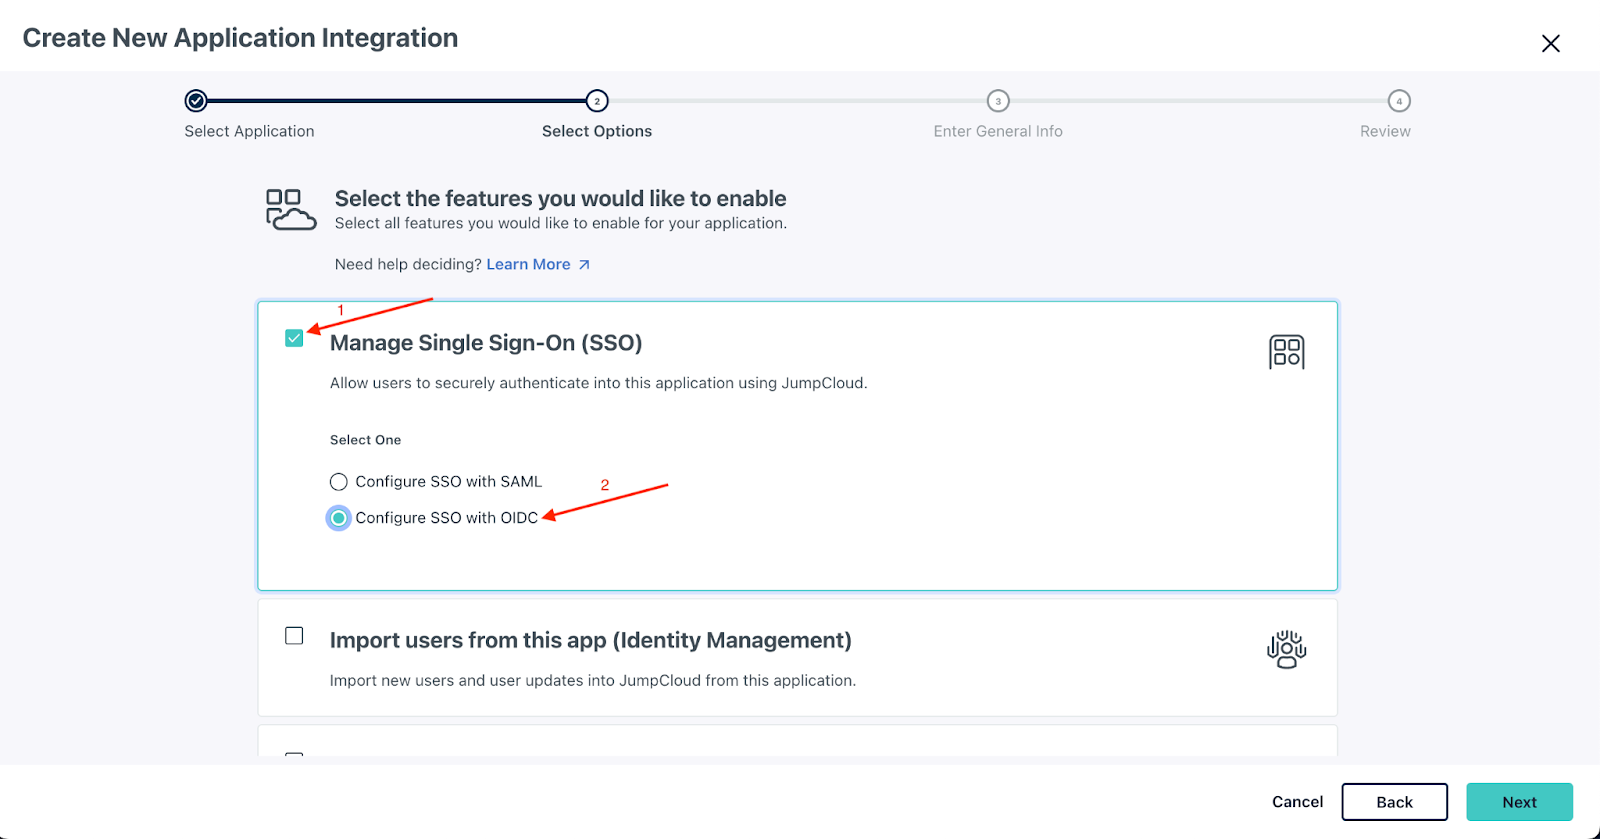
Select Manage Single Sign-On and then select Configure SSO with OIDC. Click Next.
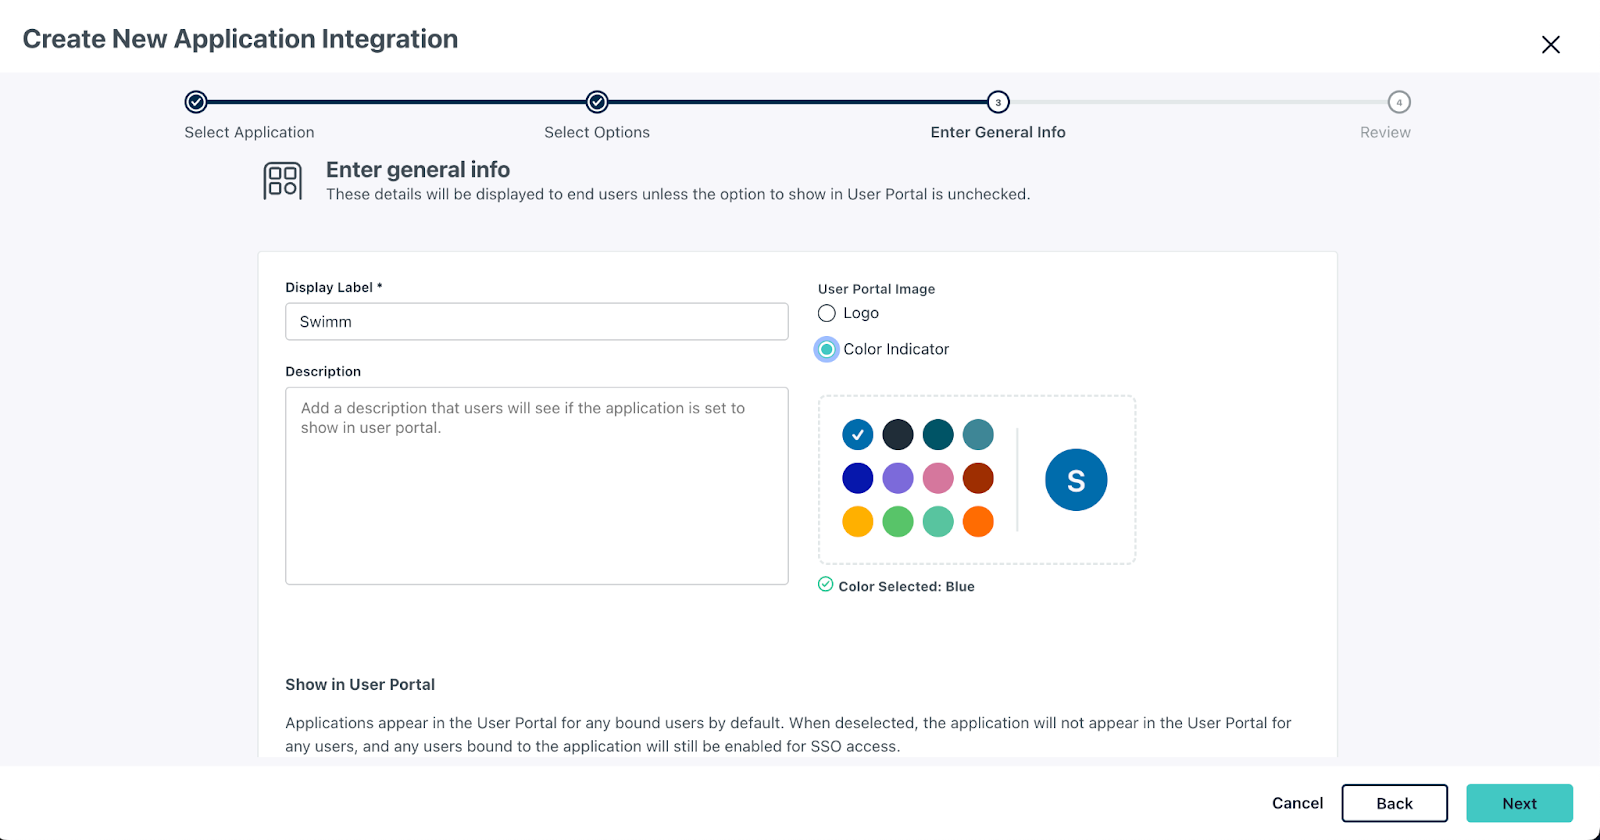
Select App specifications -> Display Label and insert Swimm.
Download Swimm's Logo and select Logo to assign it to the User Portal Image. Click Next.
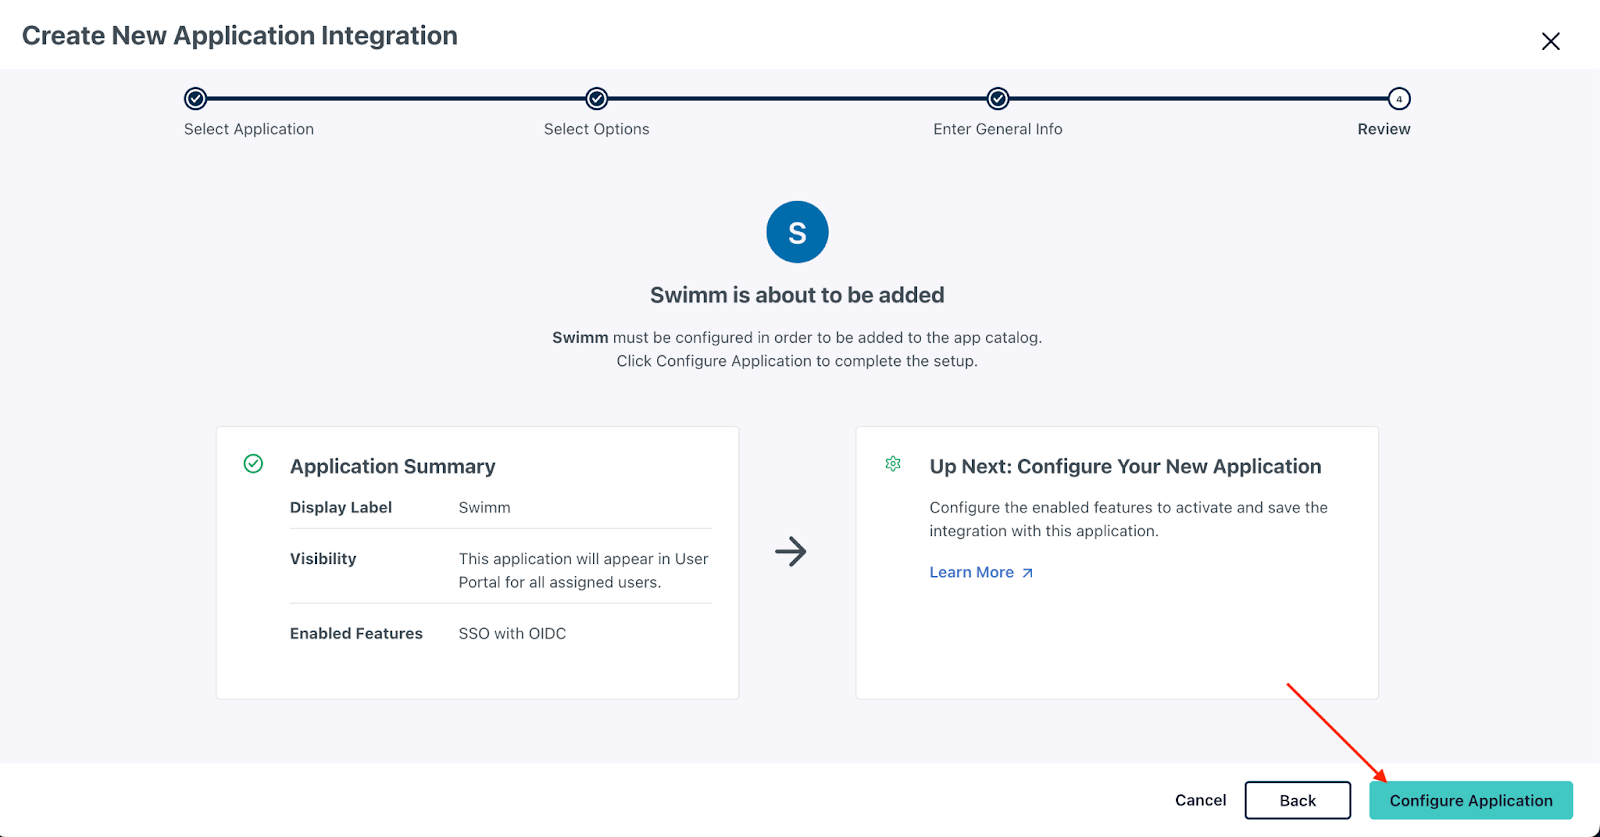
Click Configure Application.
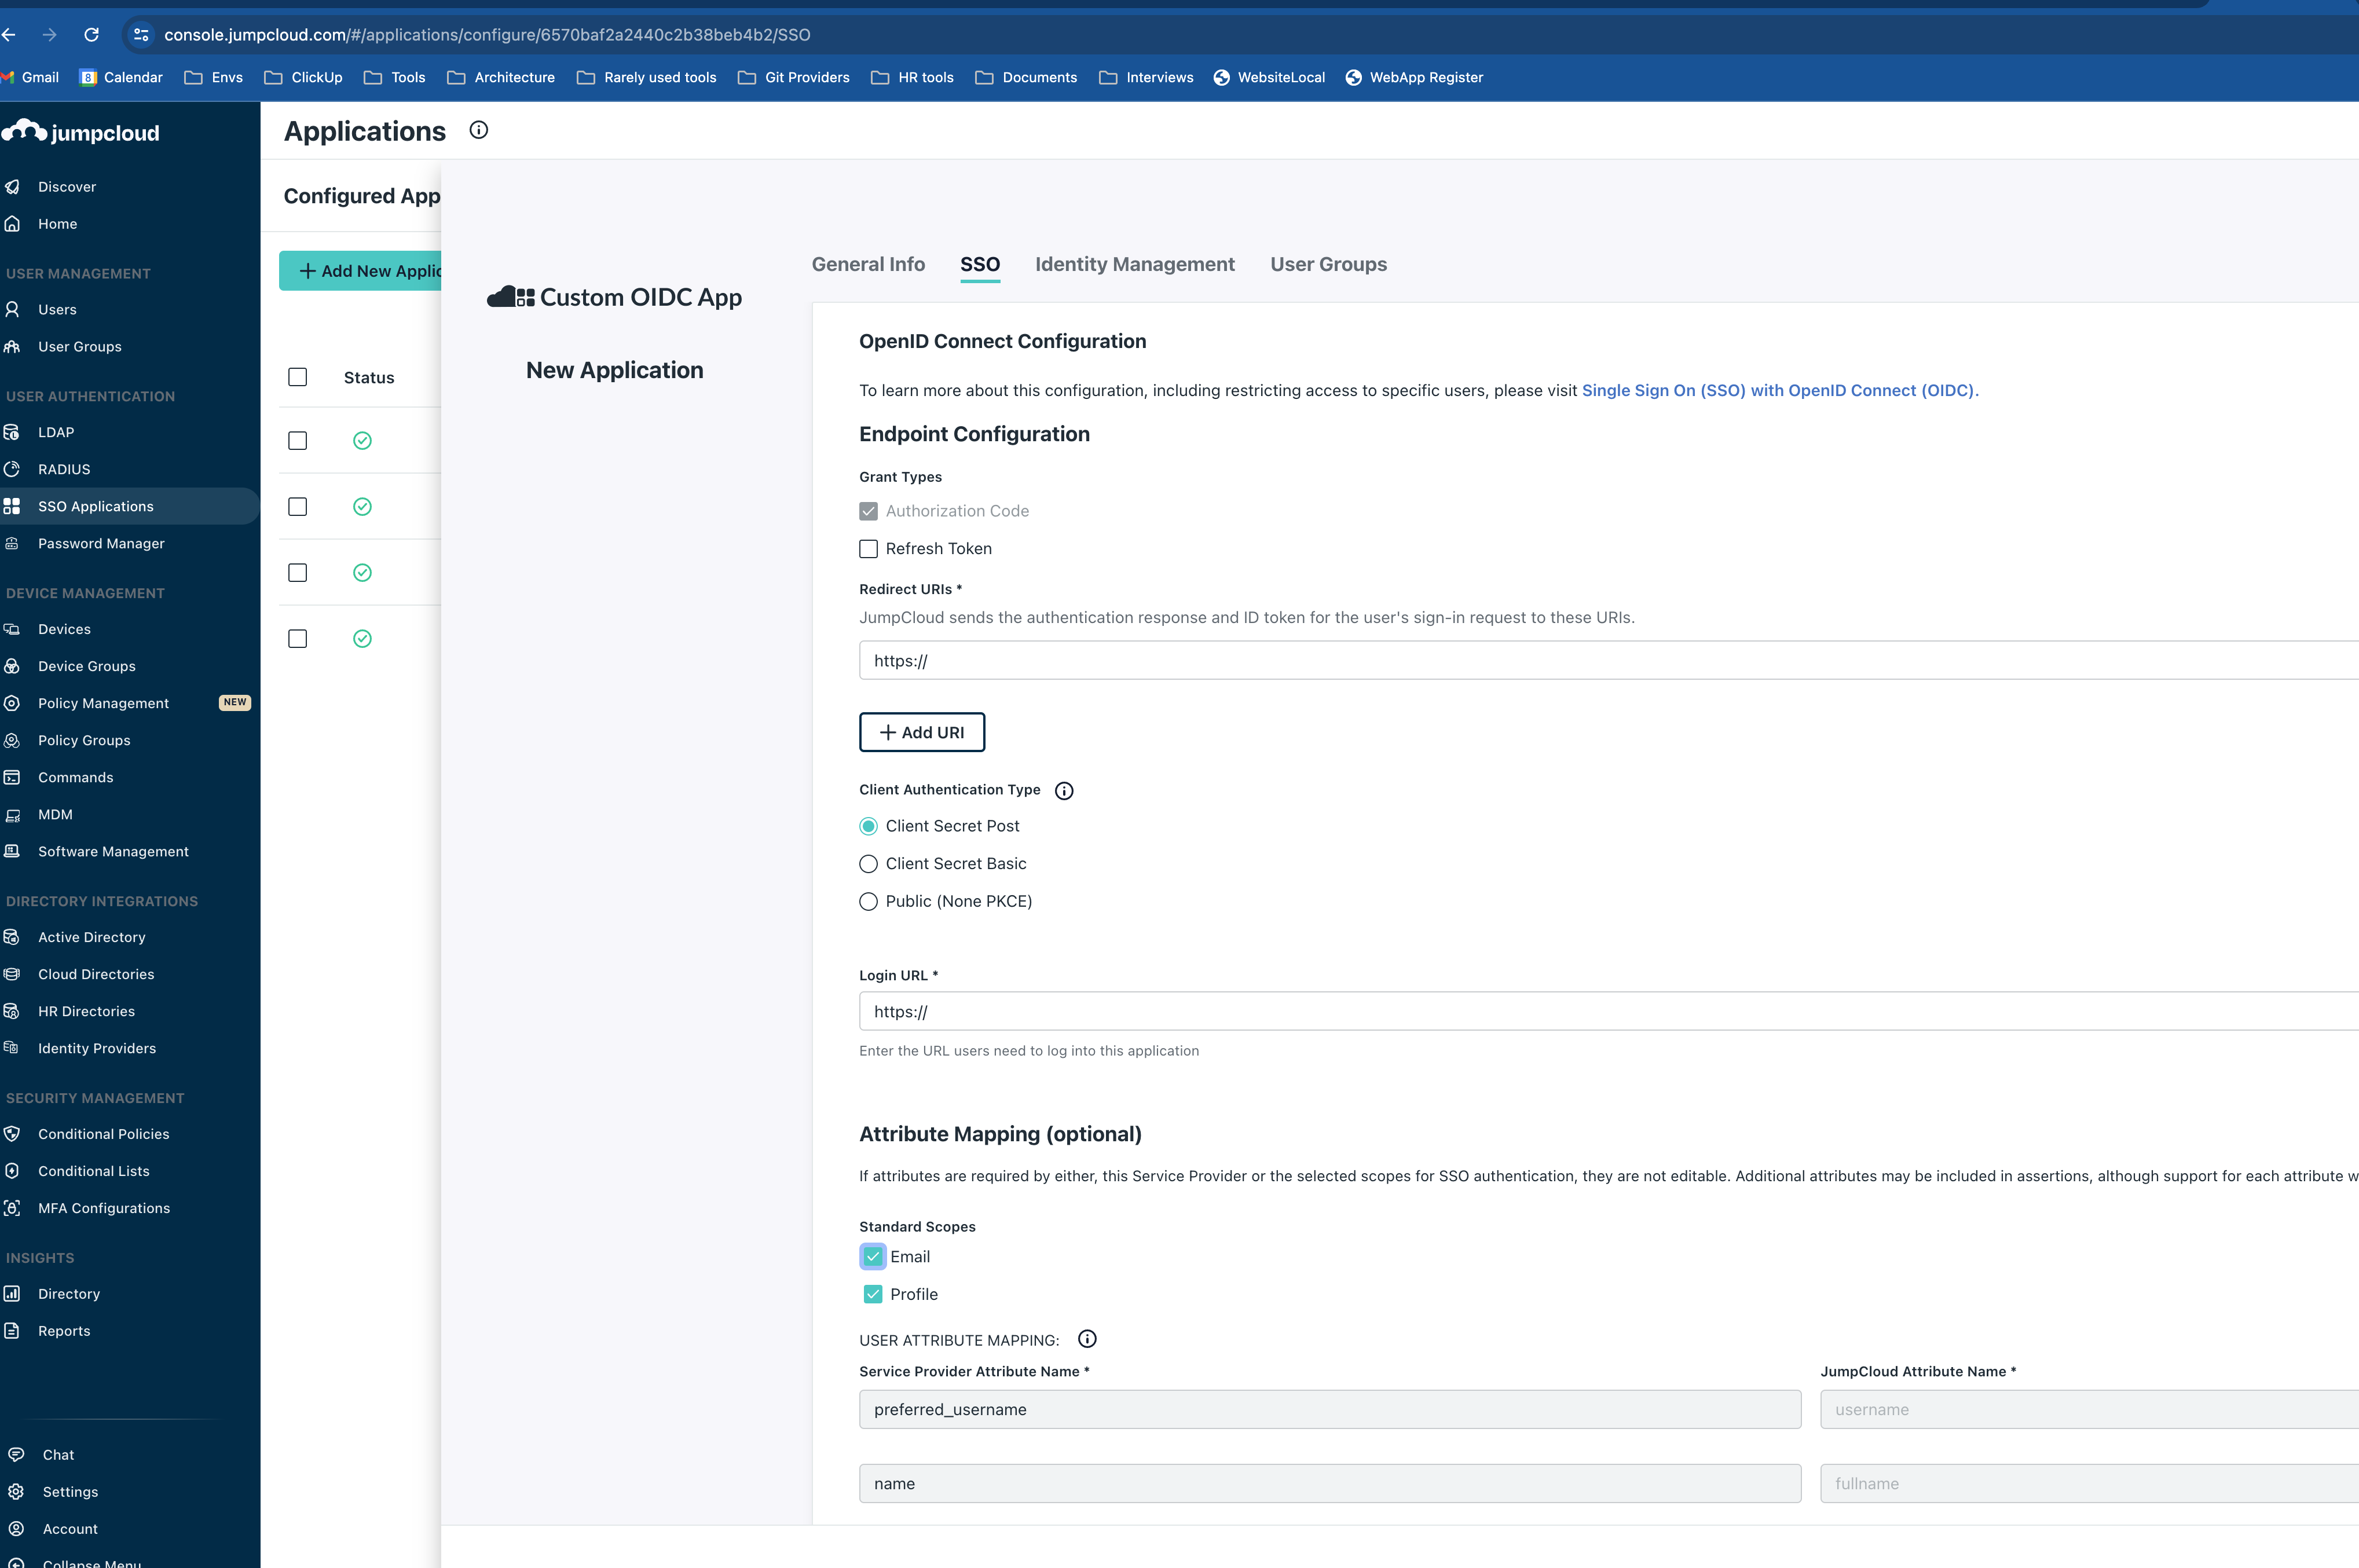
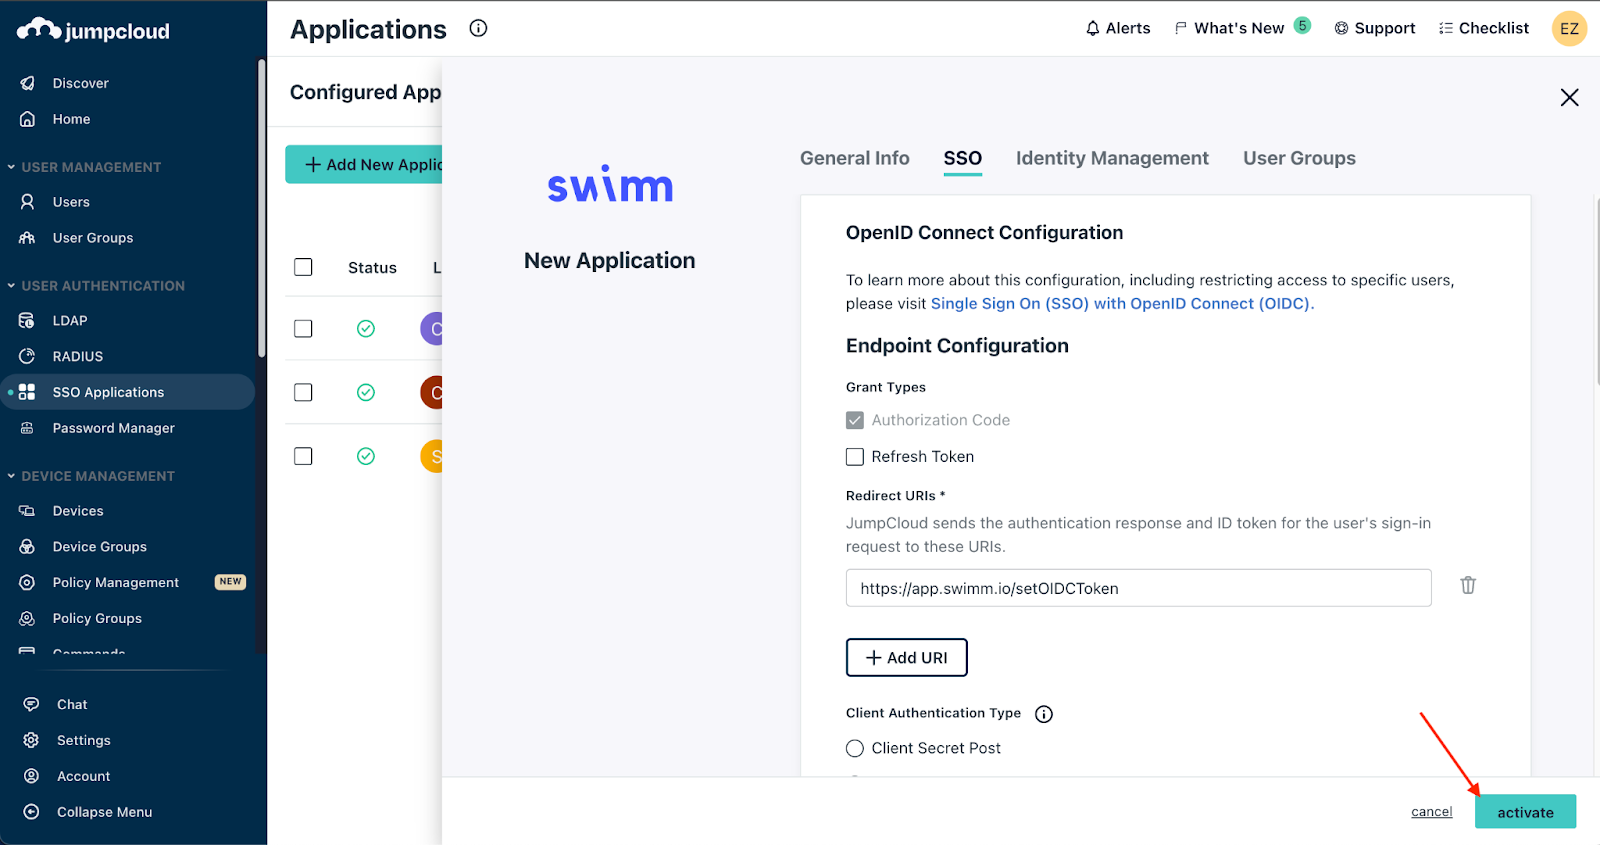
You will be redirected to the application page, insert the following fields:
| Redirect URIs | https://app.swimm.io/setOIDCToken |
| Login URL | https://app.swimm.io/sso |
| Client Authentication Type | Public (None PKCE) |
| Attribute Mapping Scope | Email and Profile |
Add users (under User Groups) to grant permissions to use the Swimm application.
Click Activate.
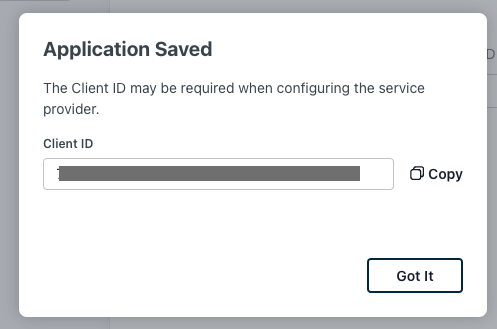
Swimm will need the Client ID. Application ID, API Key and the Email domain for users in JumpCloud.
- Copy the Client ID.
- Click on the application to see the Application ID in the application's URL
- Click on your
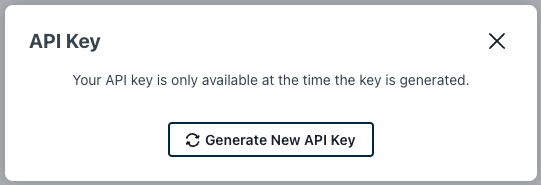
Settings icon -> My API Keyto generate a new JumpCloud API key. - Provide the email domain JumpCloud users.

Final Step: Send information to Swimm:
1. Client ID
2. SSO App ID
3. JumpCloud API key
4. Email domain
Troubleshooting
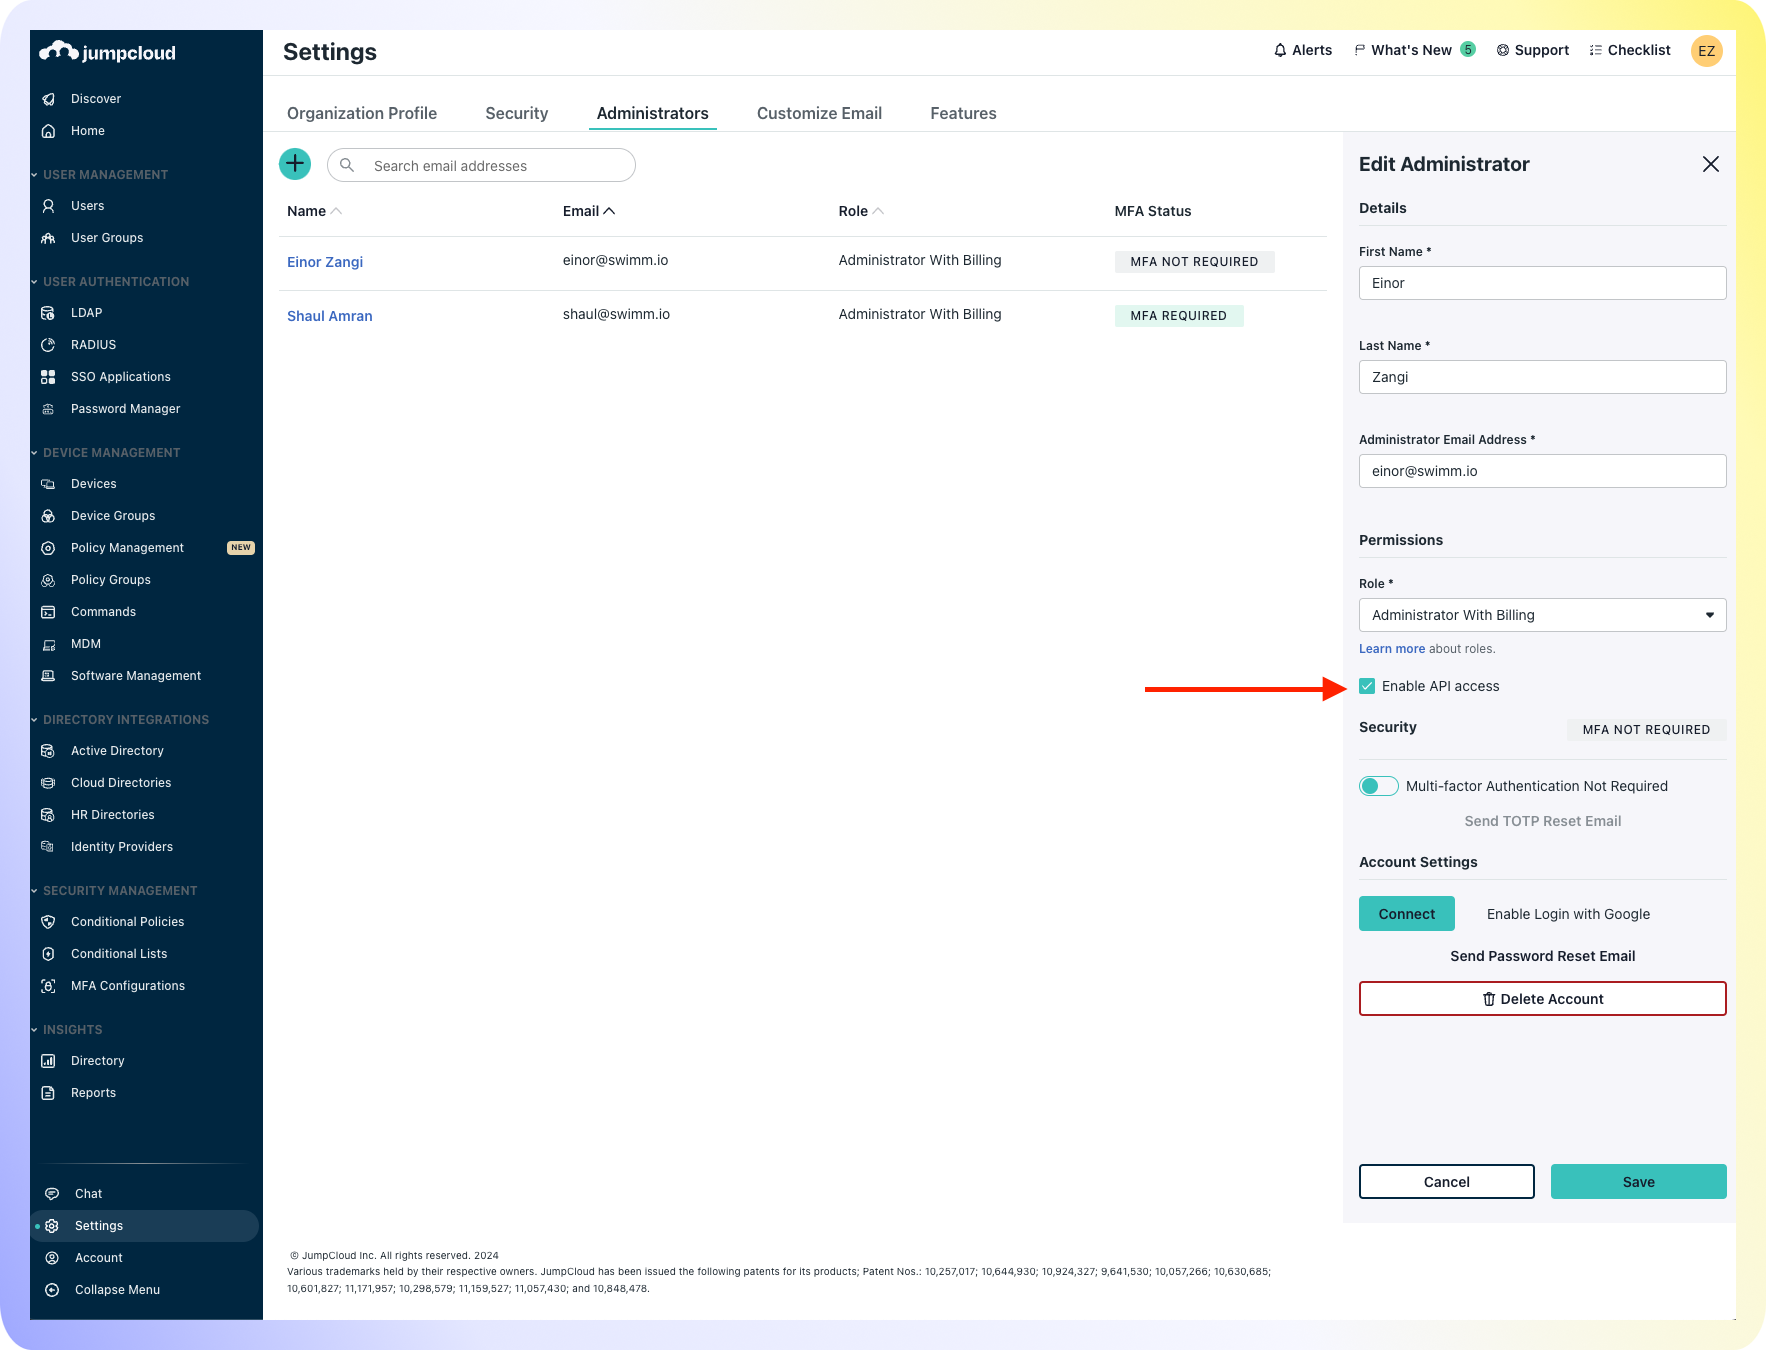
Trouble generating an API key?
If you do not have permissions to generate an API key, go to Settings -> Administrators -> Click on user -> Check ✅ "Enable API access" -> Save.