How to create an Azure Active Directory application for Swimm
To authorize SSO with Azure Active Directory, using OpenID Connect (OIDC), you'll need to create an SSO application on your AD instance. Follow the steps below to complete the setup.
Create Active Directory App
Create Application (7 steps)
- New Registration
- Register App
- Redirect URI
- OIDC Metadata URL
- API Permissions
- Swimm Branding
- Assign App
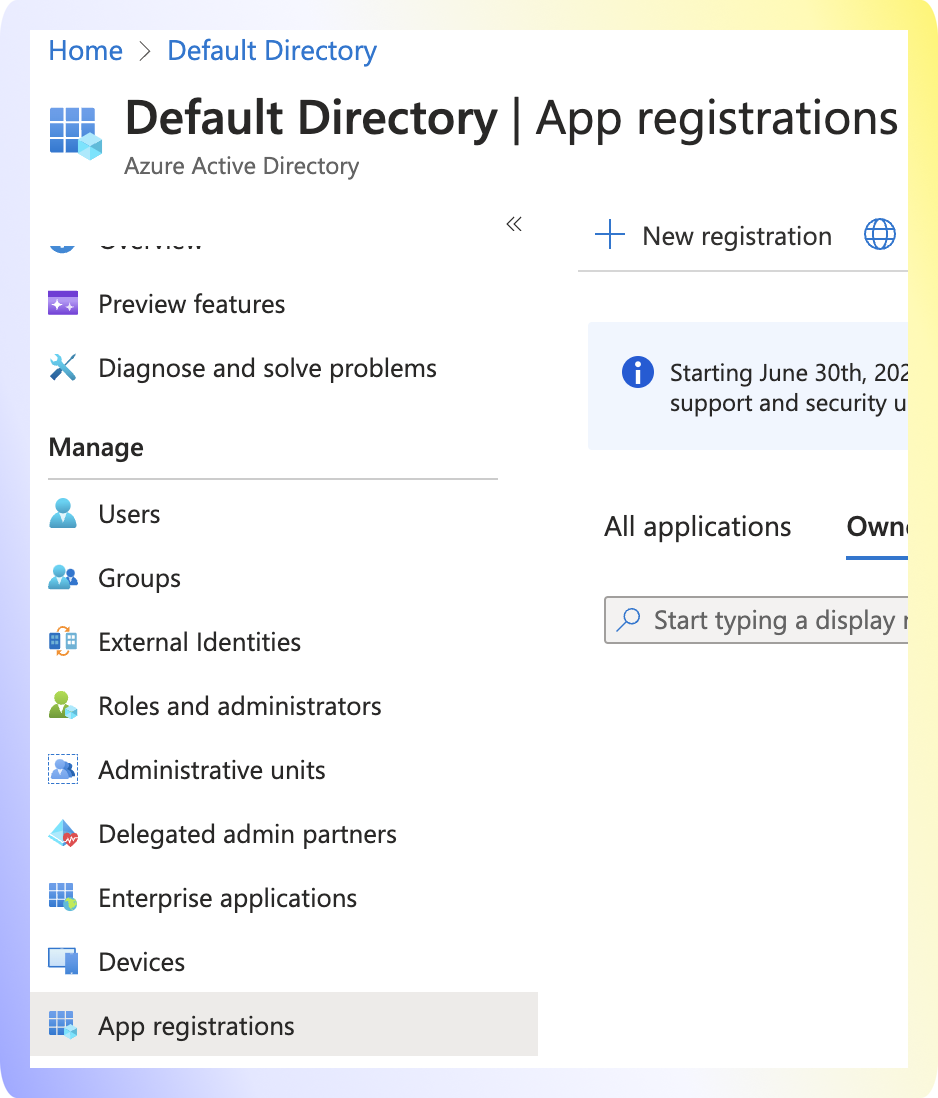
- Navigate to
Azure Active Directory > App Registrations. - Click
New registration.
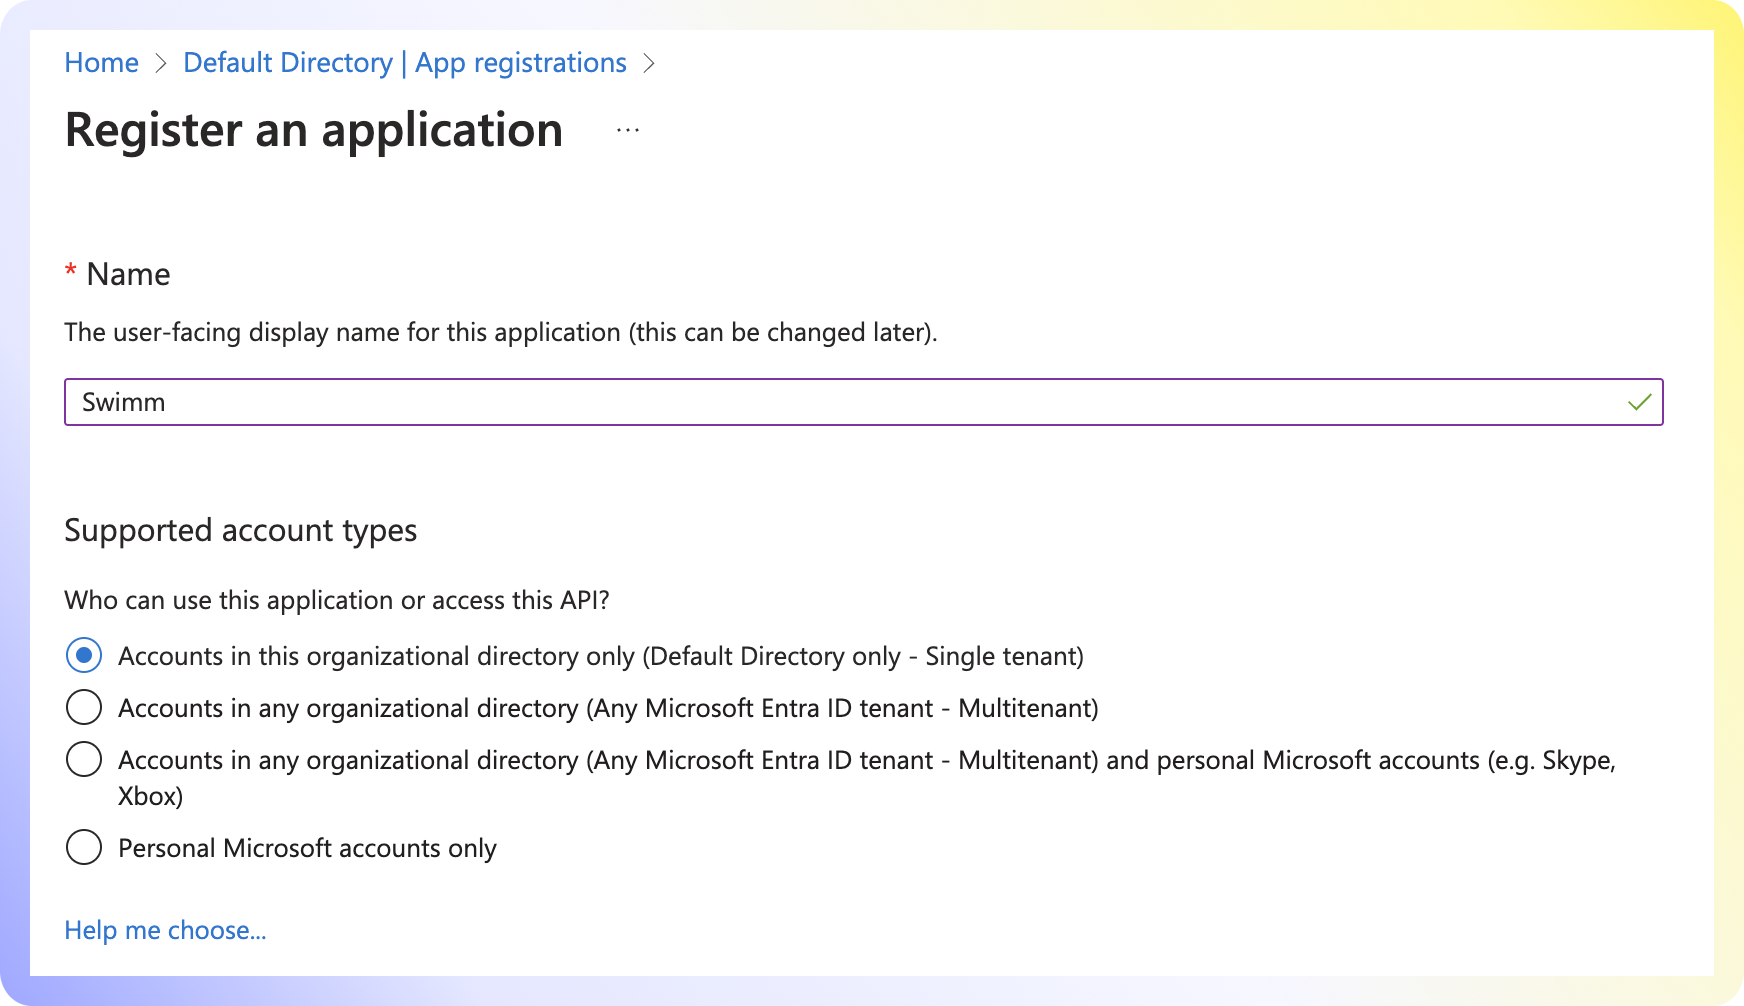
Provide Swimm as the name for the application. Choose "Single tenant" or "Multitenant" depending on your organization setup.
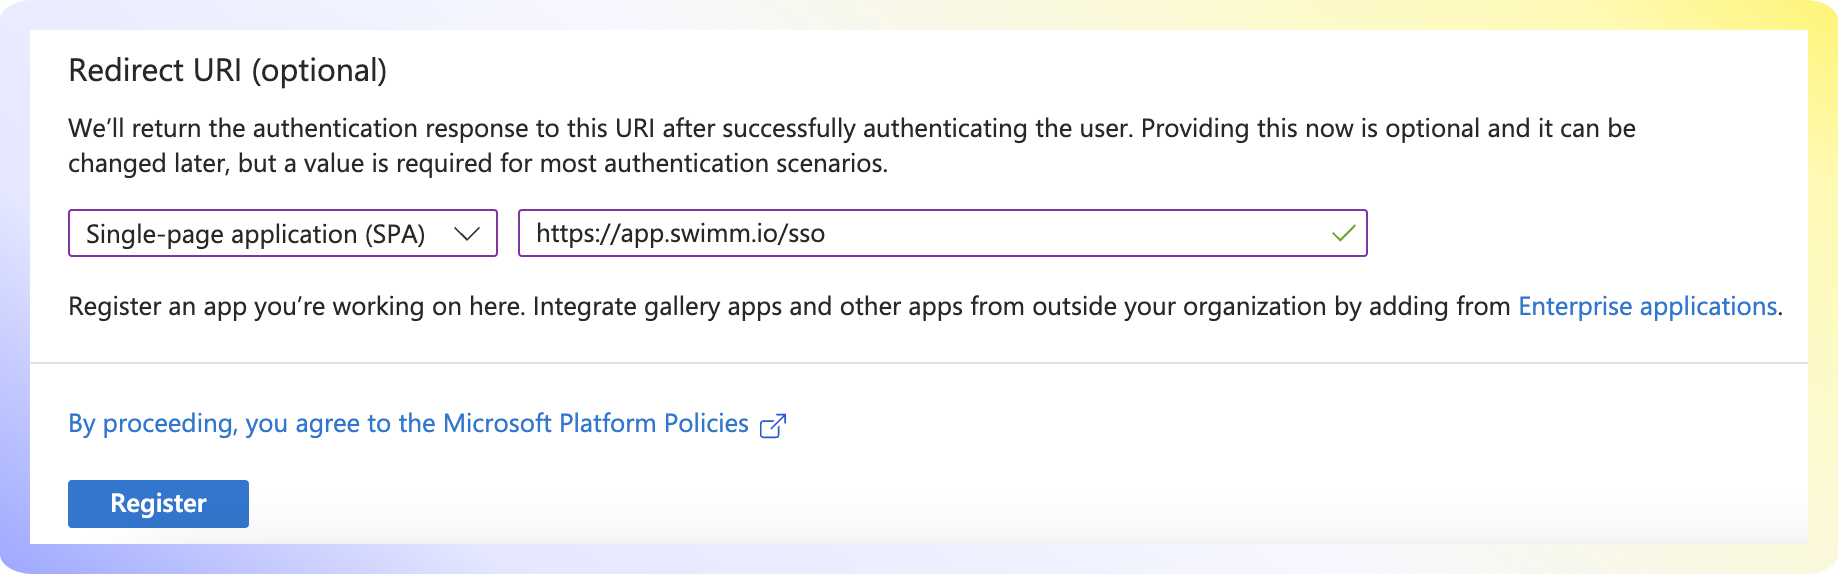
- Select Single Page Application and enter the redirect URI:
https://app.swimm.io/sso - Click
Register.
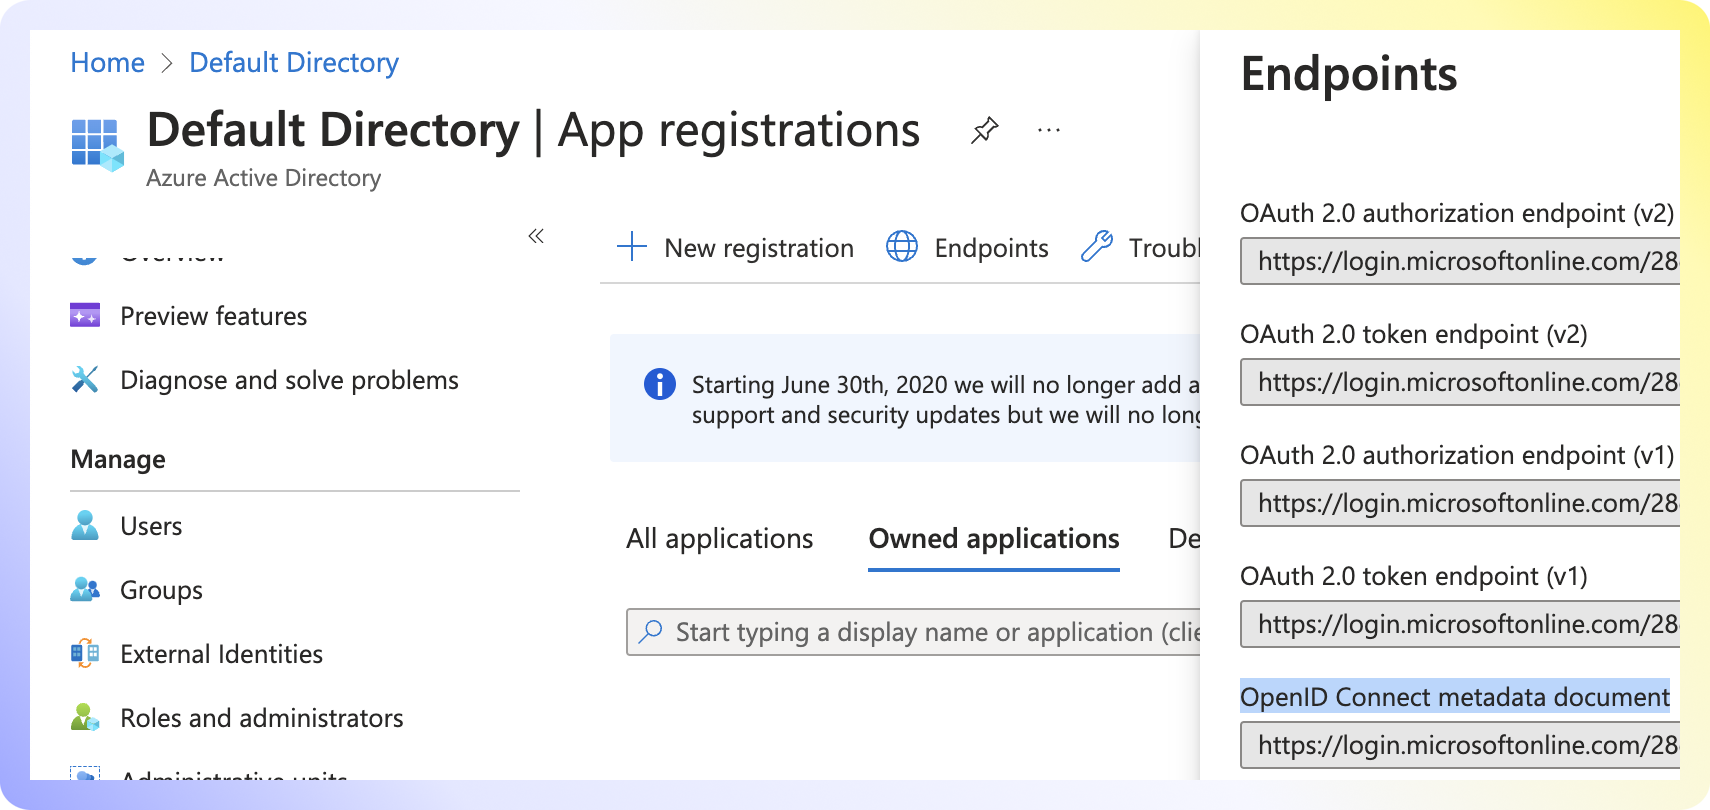
- Click
Endpointsin the app registration overview. - Copy the URL under OpenID Connect metadata document. This will be required by Swimm.
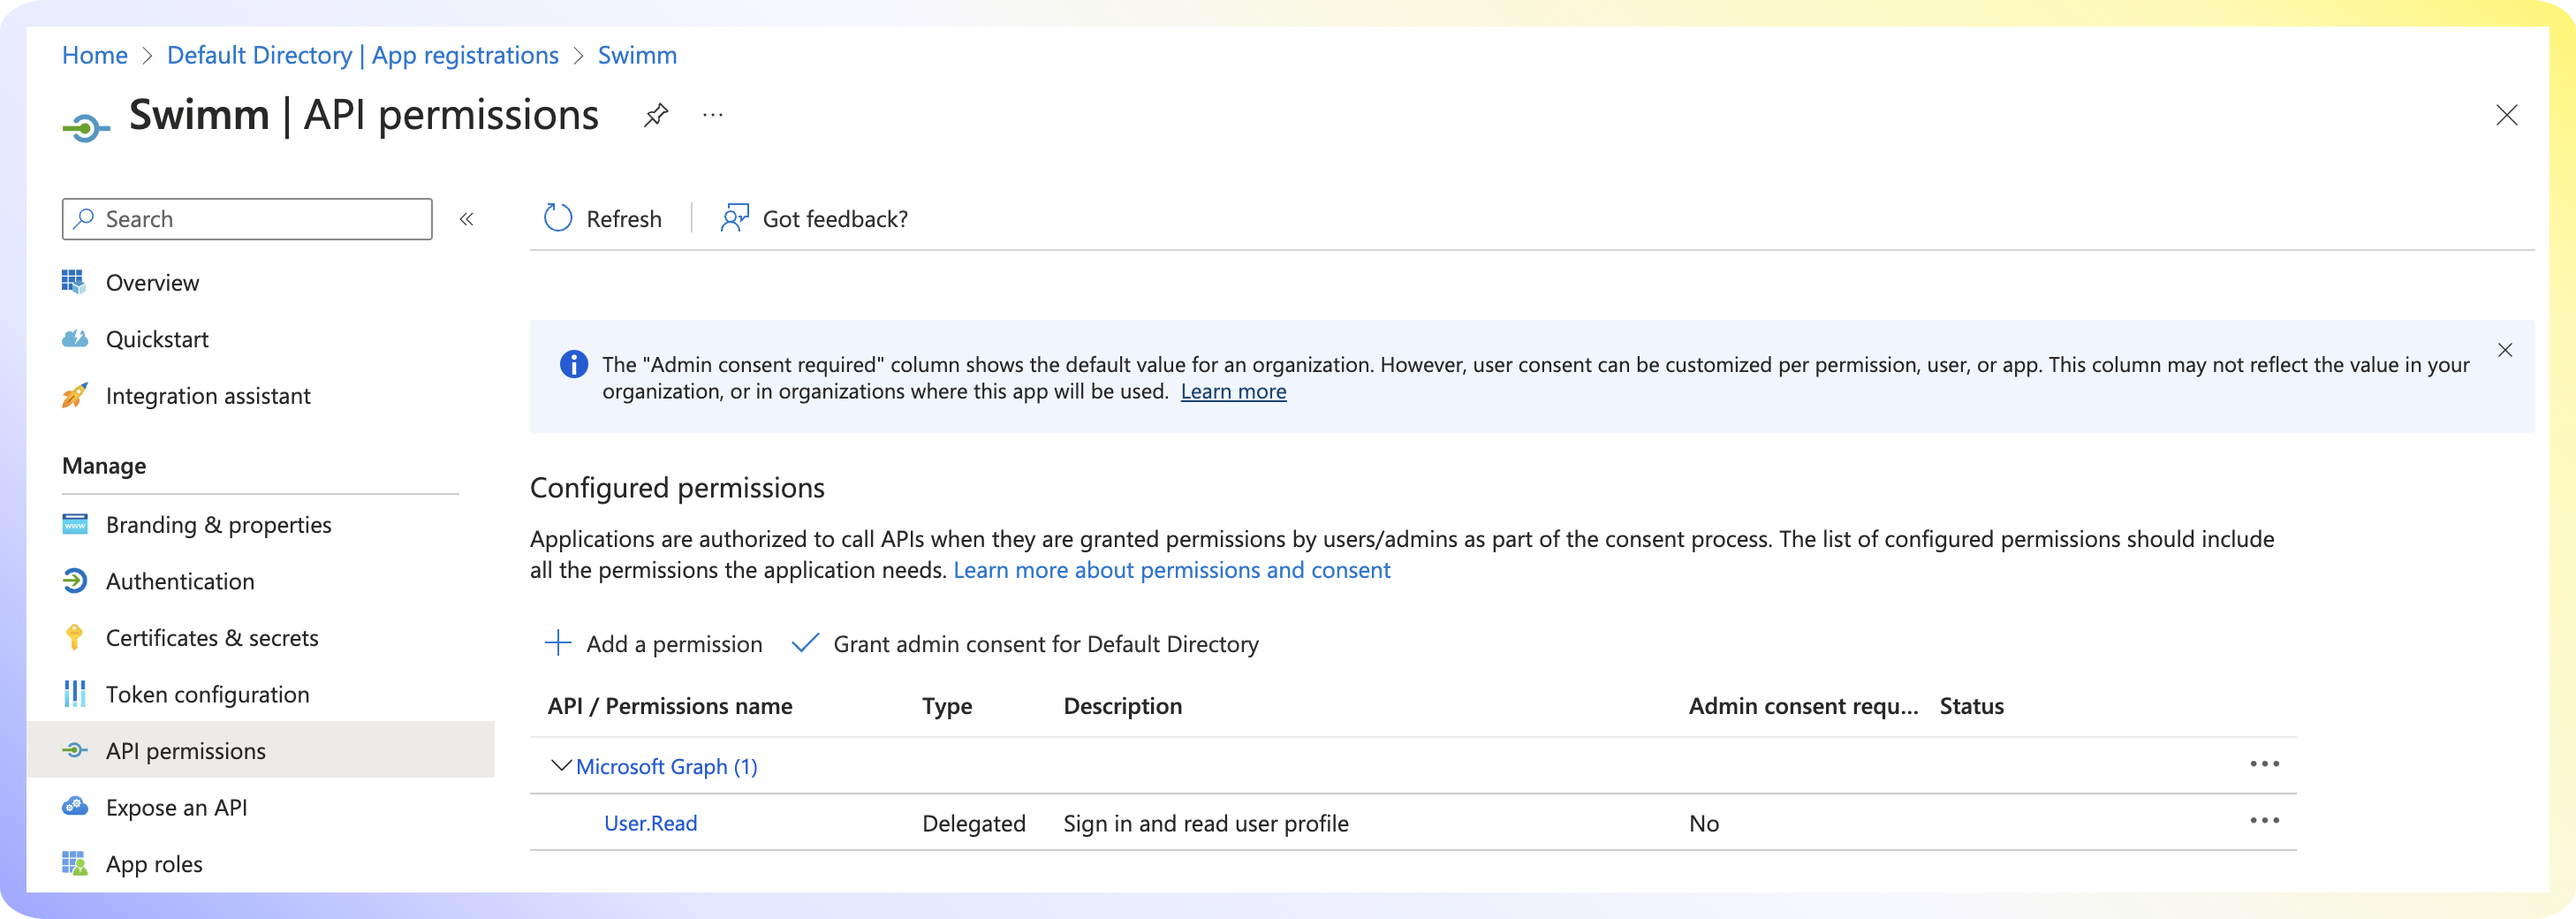
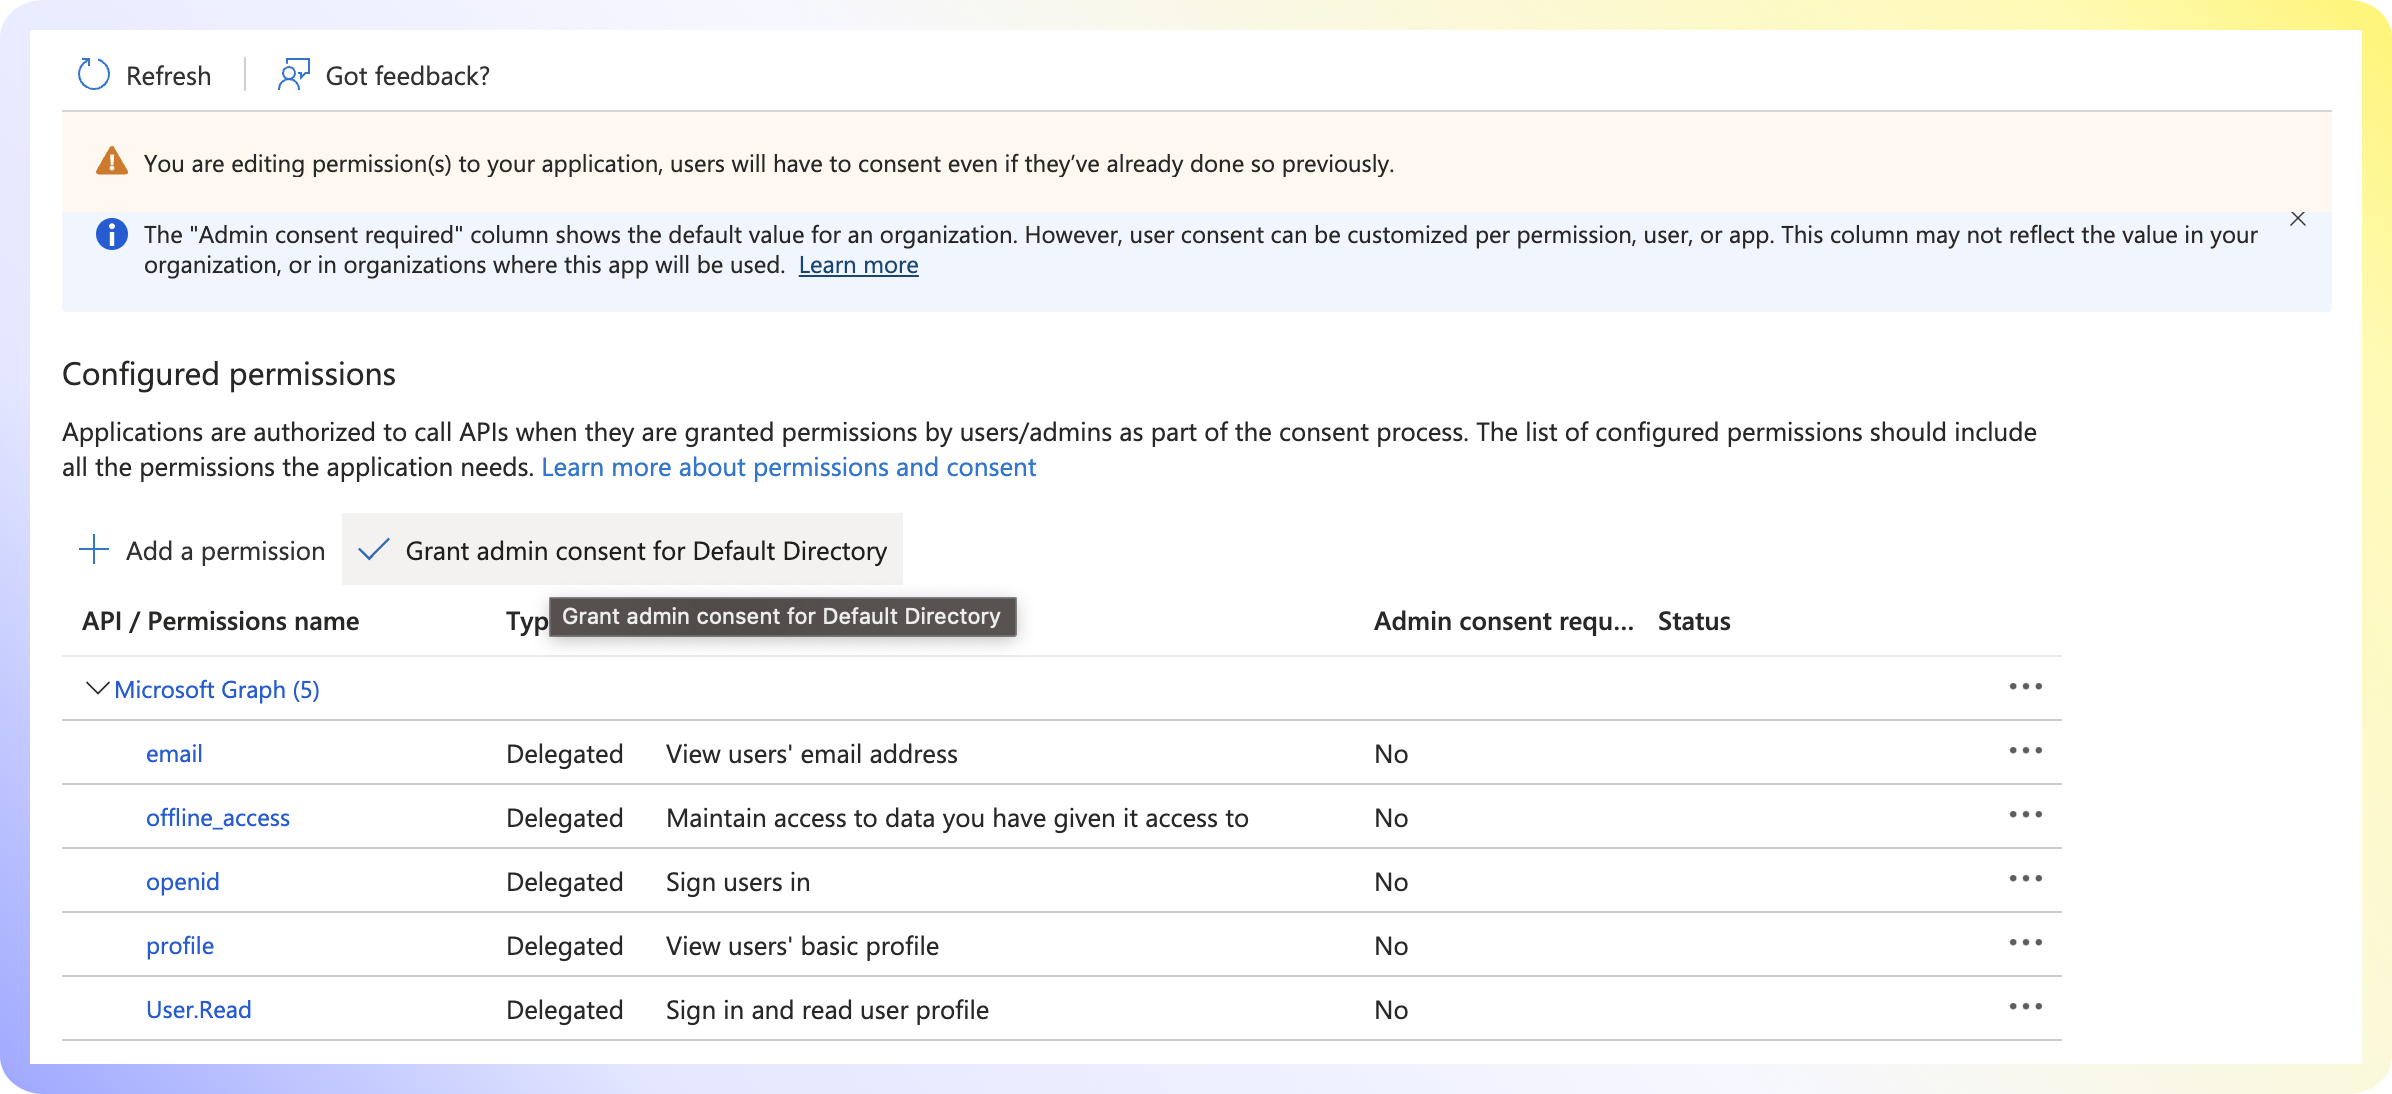
- Navigate to
API Permissions. - Verify that User.Read is set and click
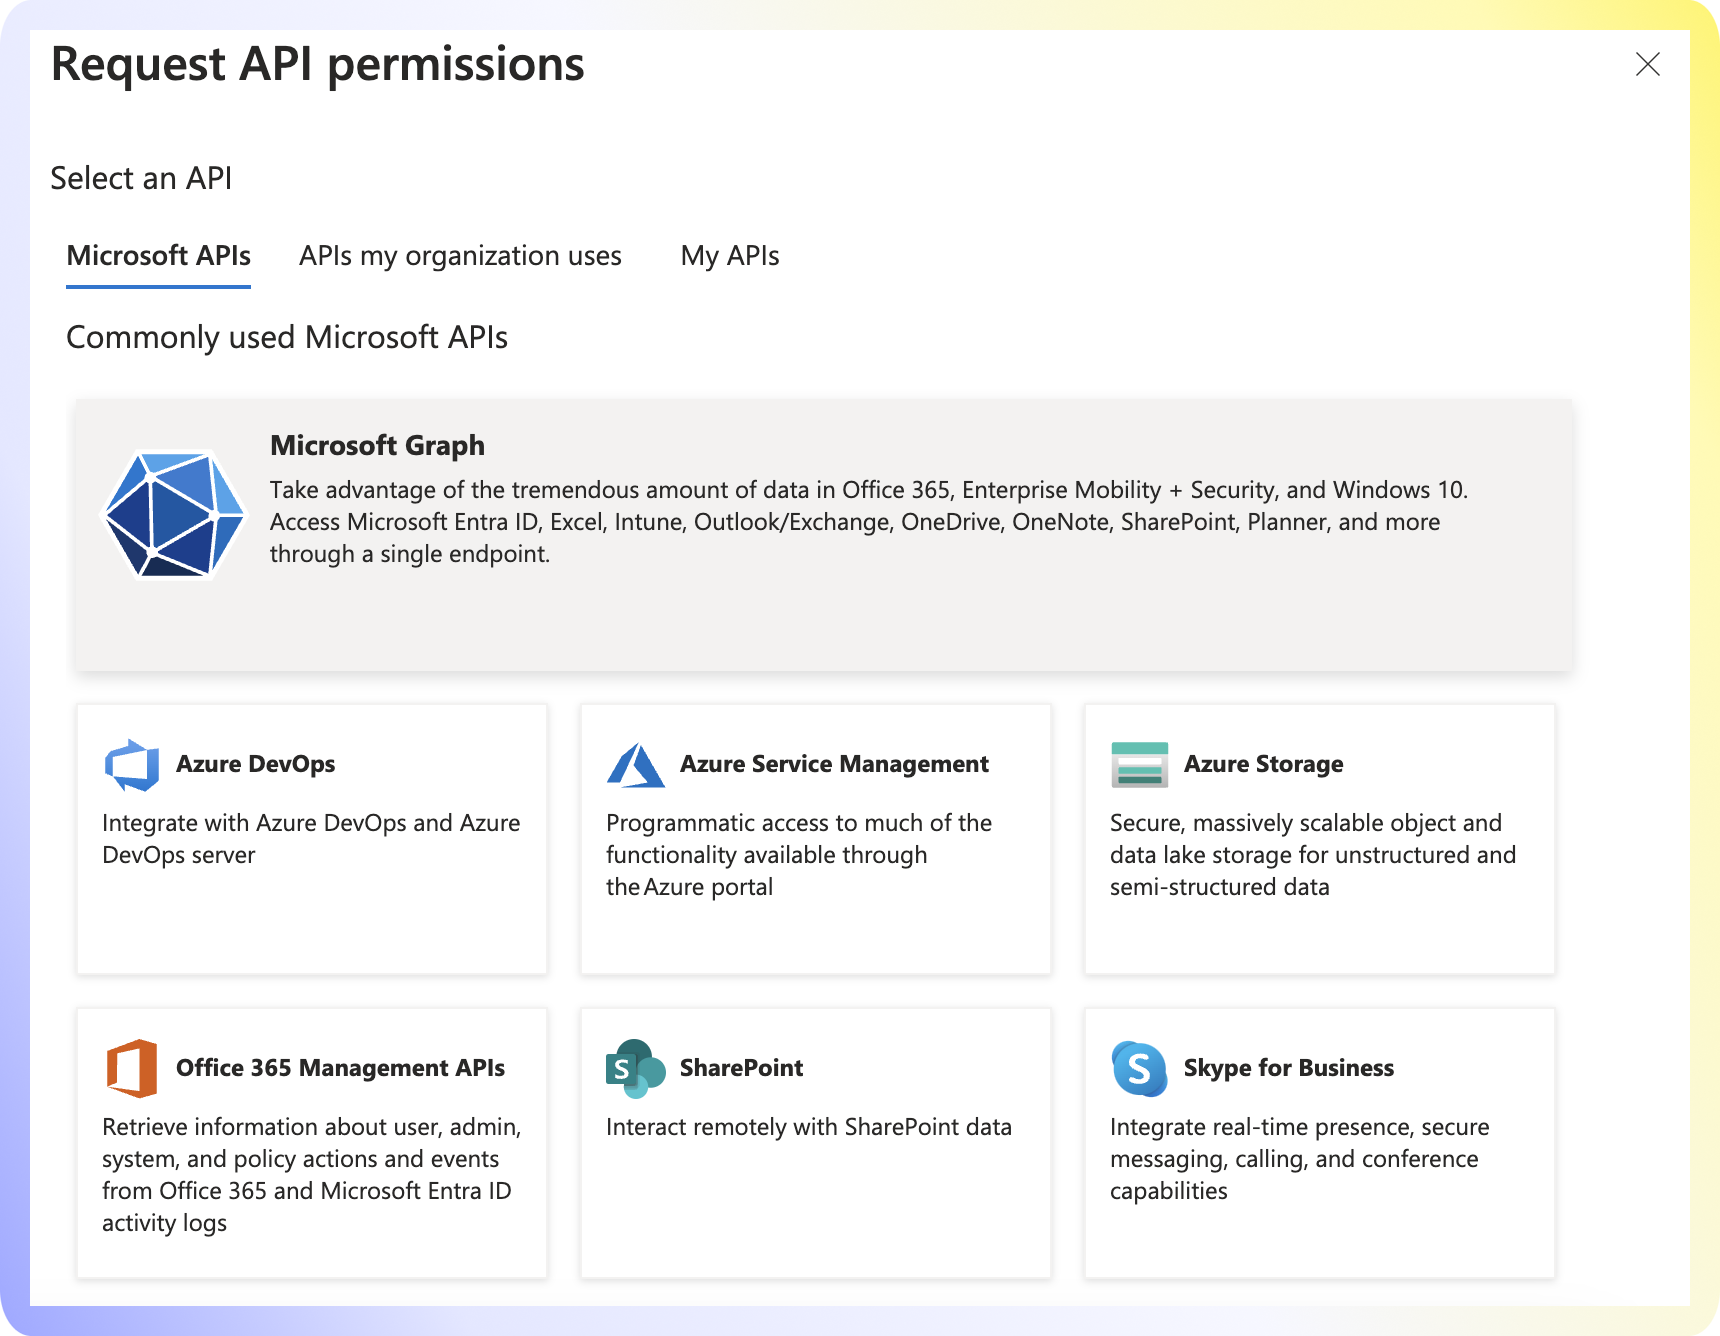
Add Permission. - Select
Microsoft Graph. - Select
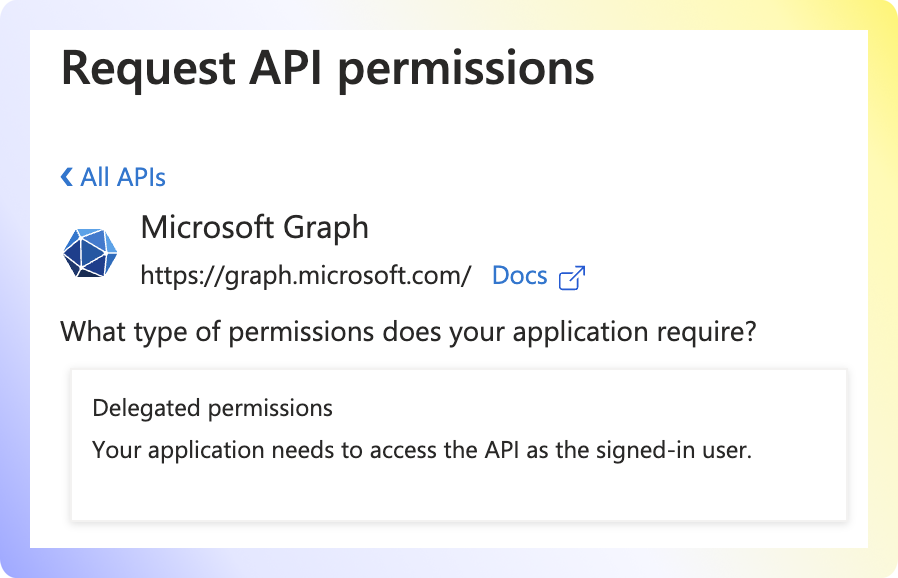
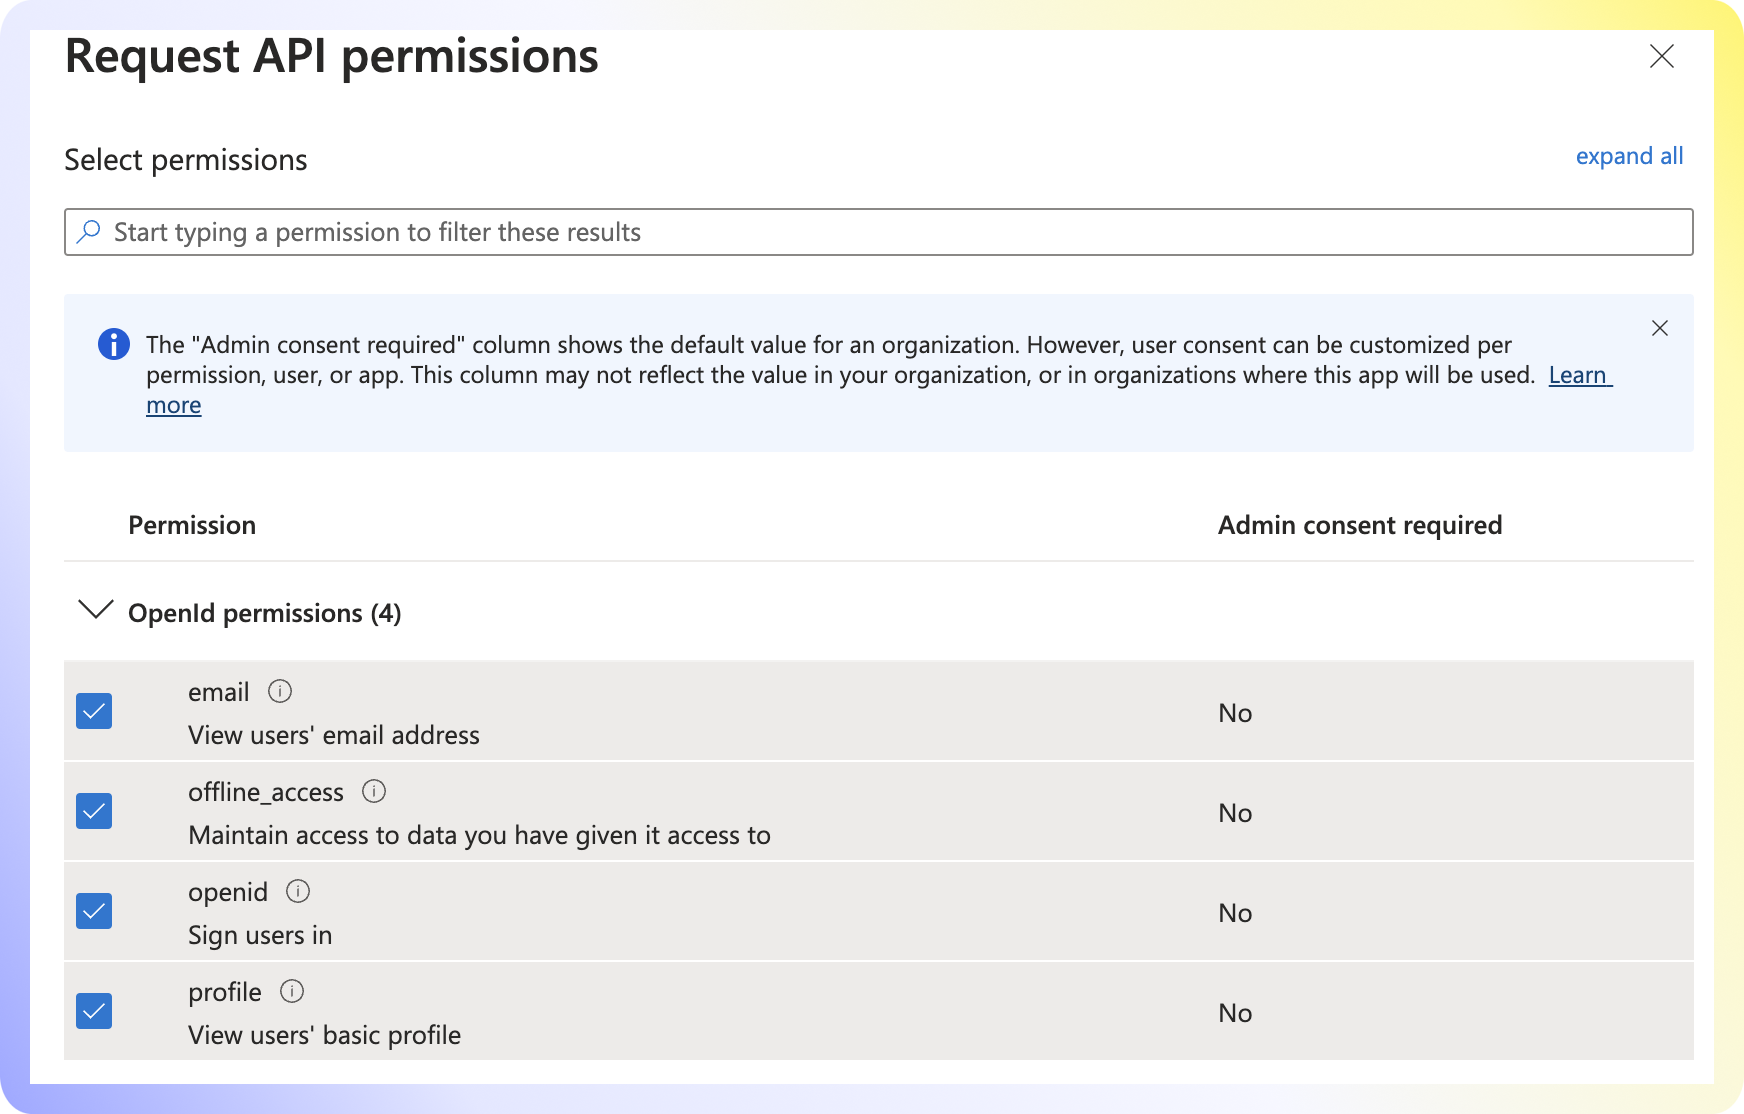
Delegated Permissions. - Select the four OpenID permissions below and click
Add permissions. - Grant Admin consent for Default Directory.
email | offline_access | openid | profile |
|---|
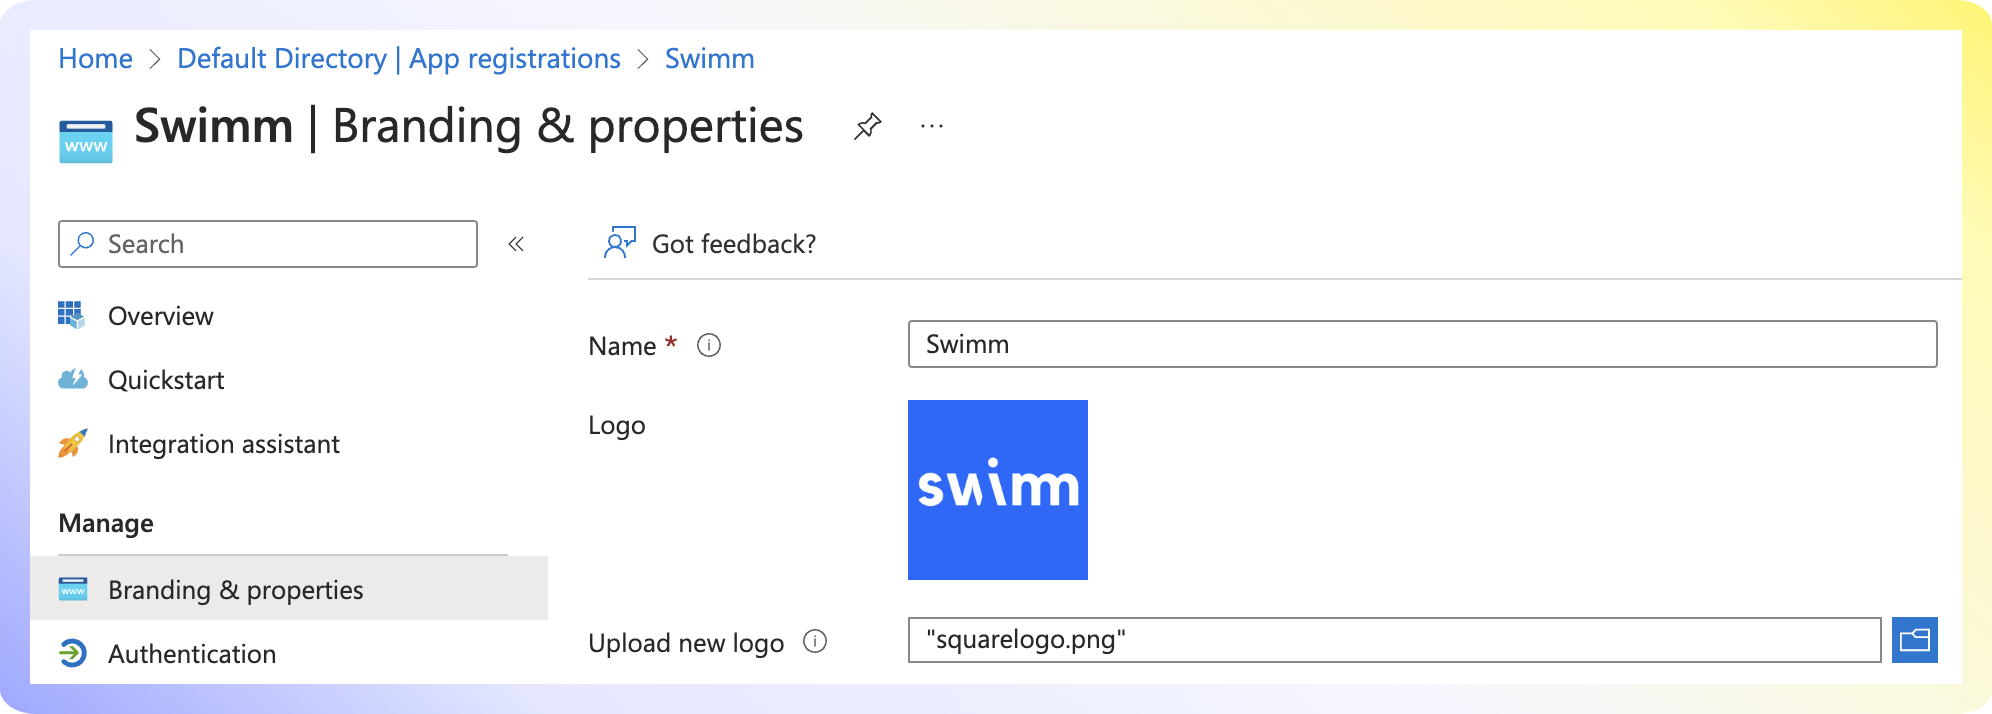
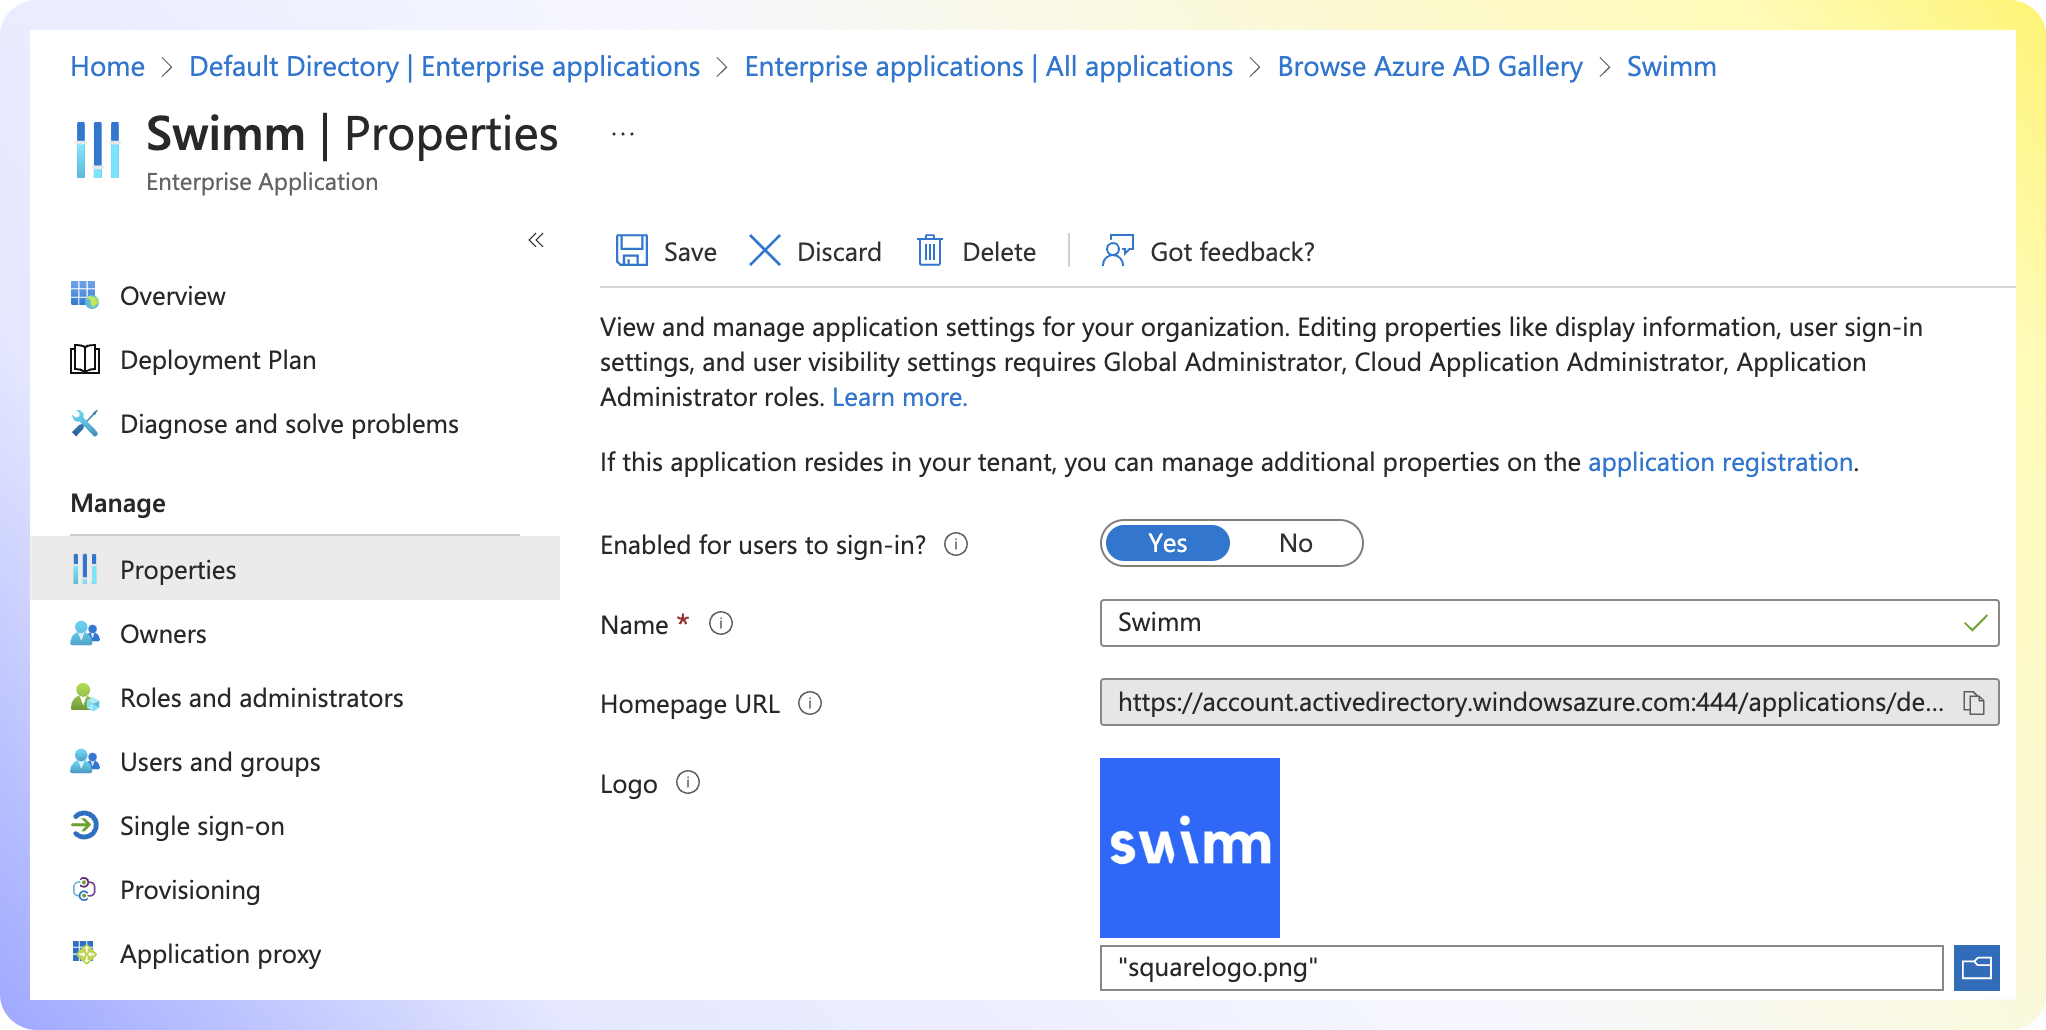
Navigate to Branding and properties. Add the Swimm logo and set the Homepage URL:
- - Go back to the main Azure Active Directory page.
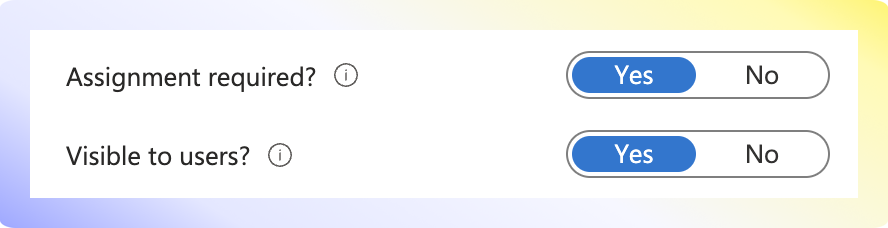
- - Navigate to
Enterprise Applications > Swimm. - - Under Properties, set Assignment required to Yes.

On the App Overview page, copy the Client ID and Object ID.
Final Step: Send information to Swimm:
1. Client ID
2. Object ID
3. OpenID Metadata URL
Additional Information
- We do not have automatic provisioning. Please let us know your organization's domain so we can configure the SSO setup.